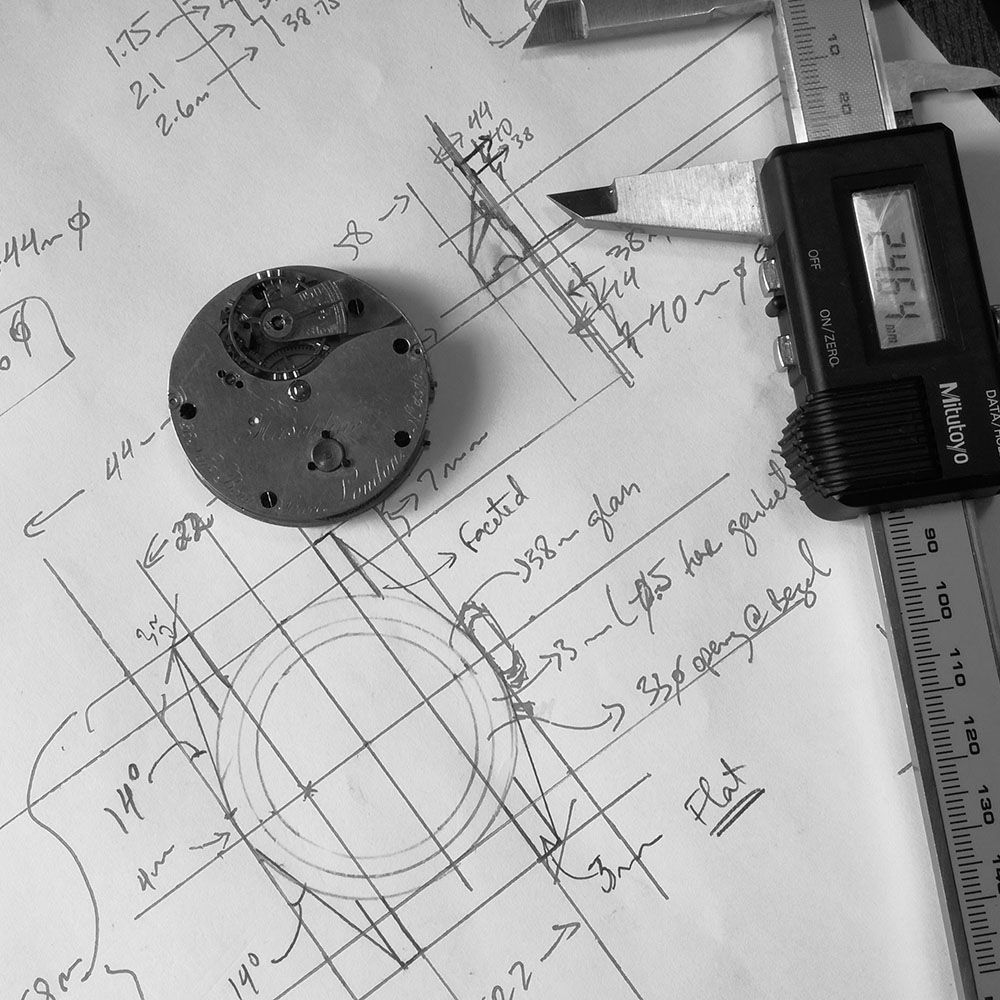
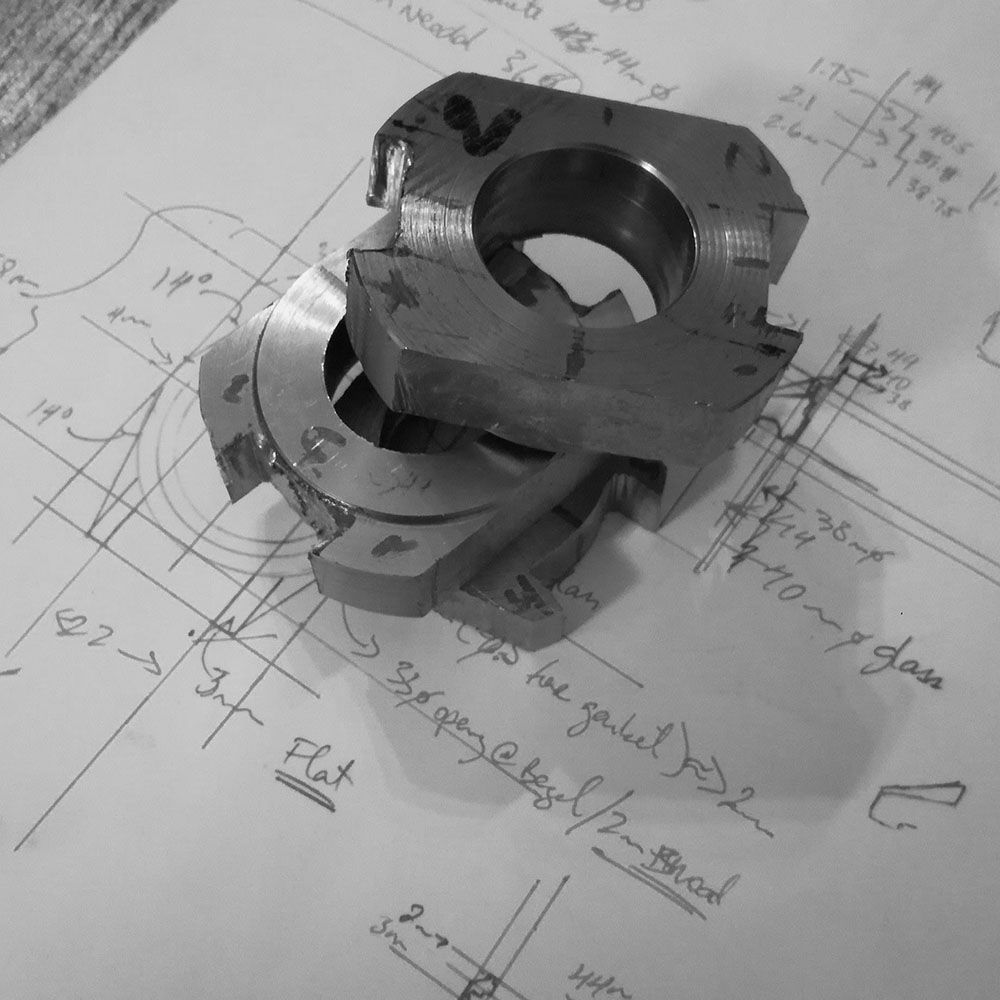
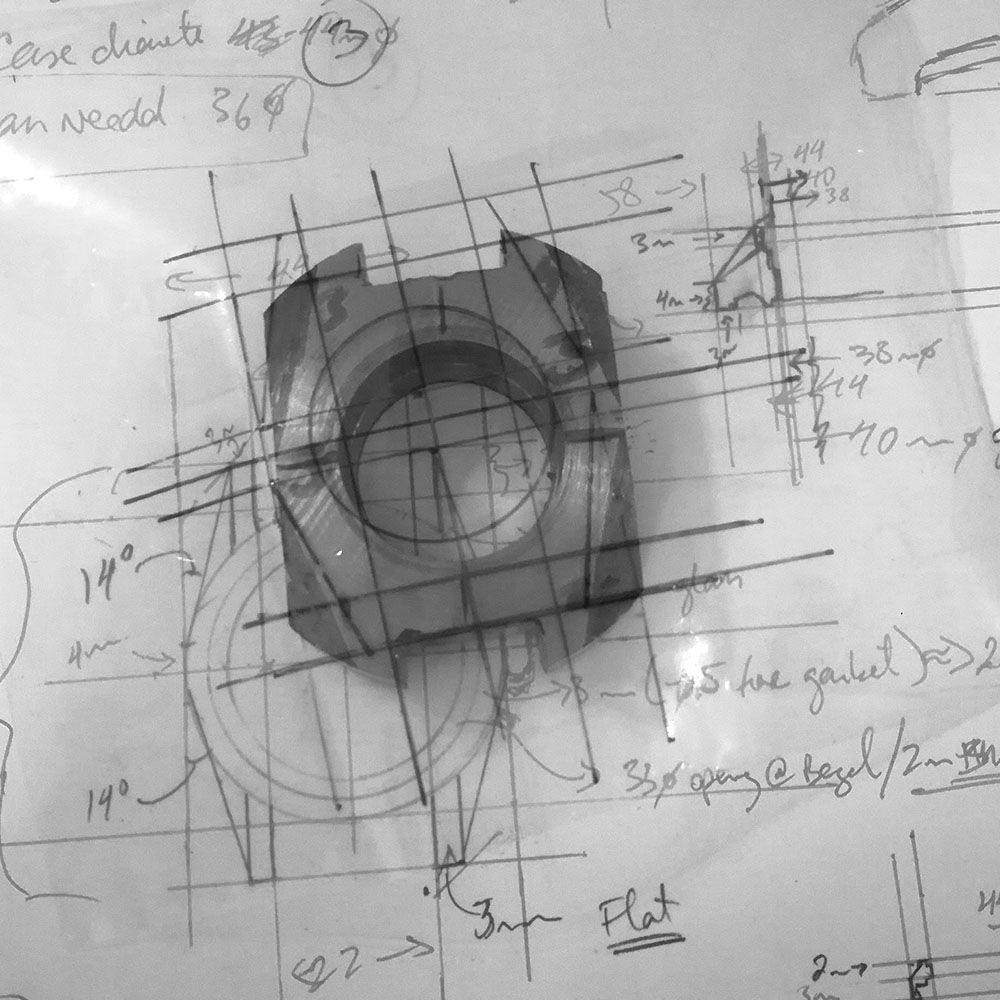
Design of case with measurements for bezel, case body, and dial.
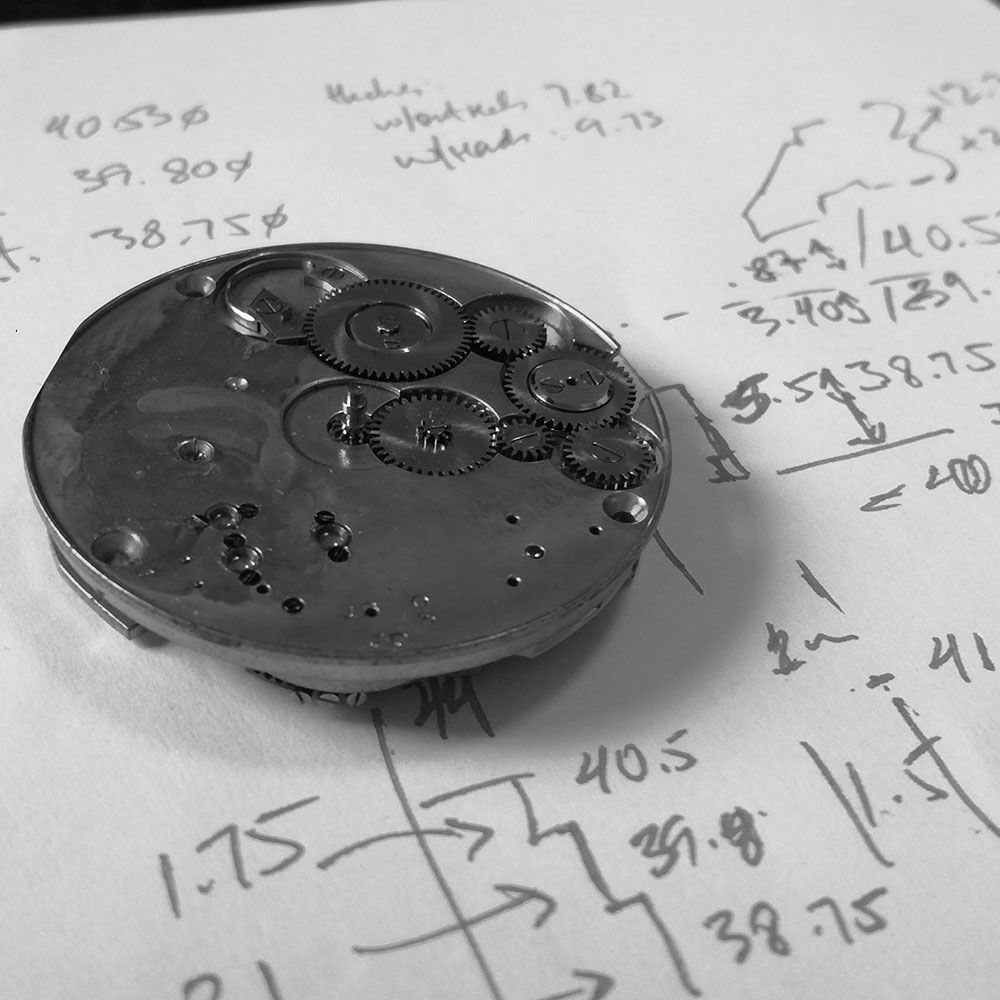
View of movement.
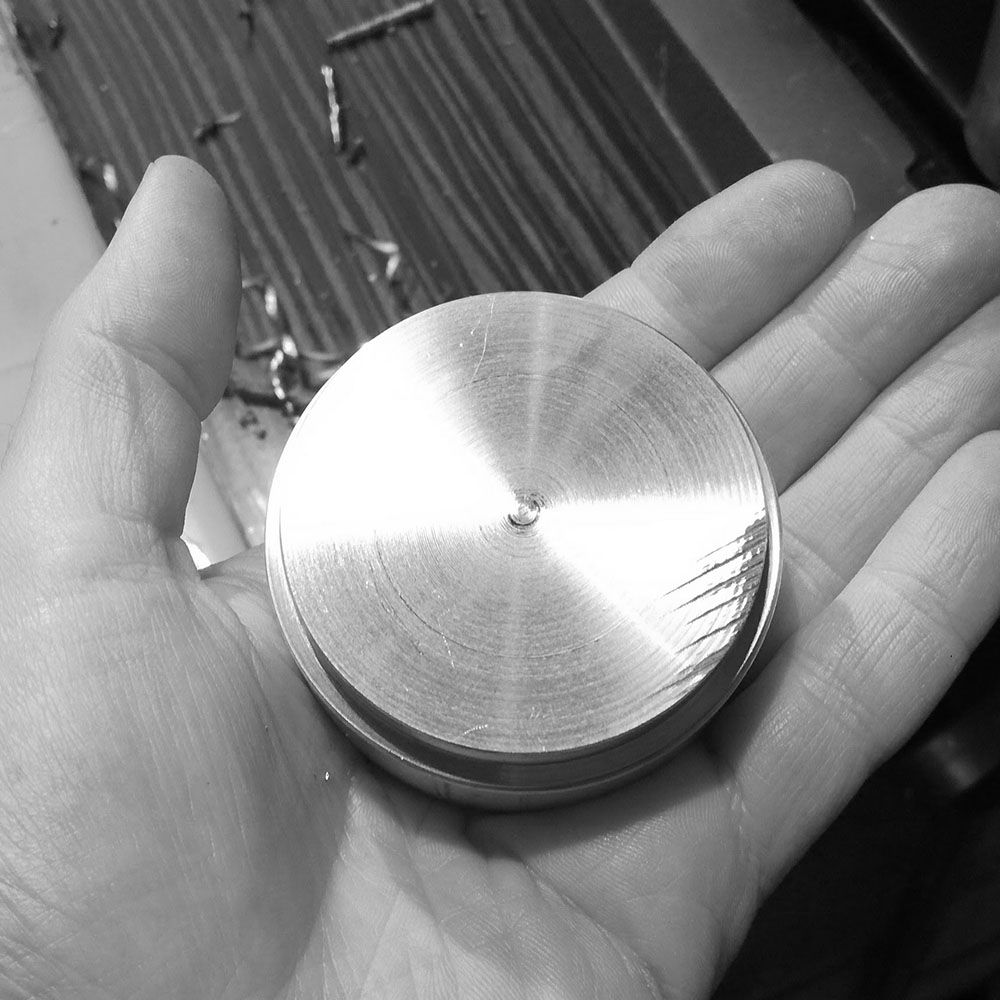
Solid billet to be milled and turned.
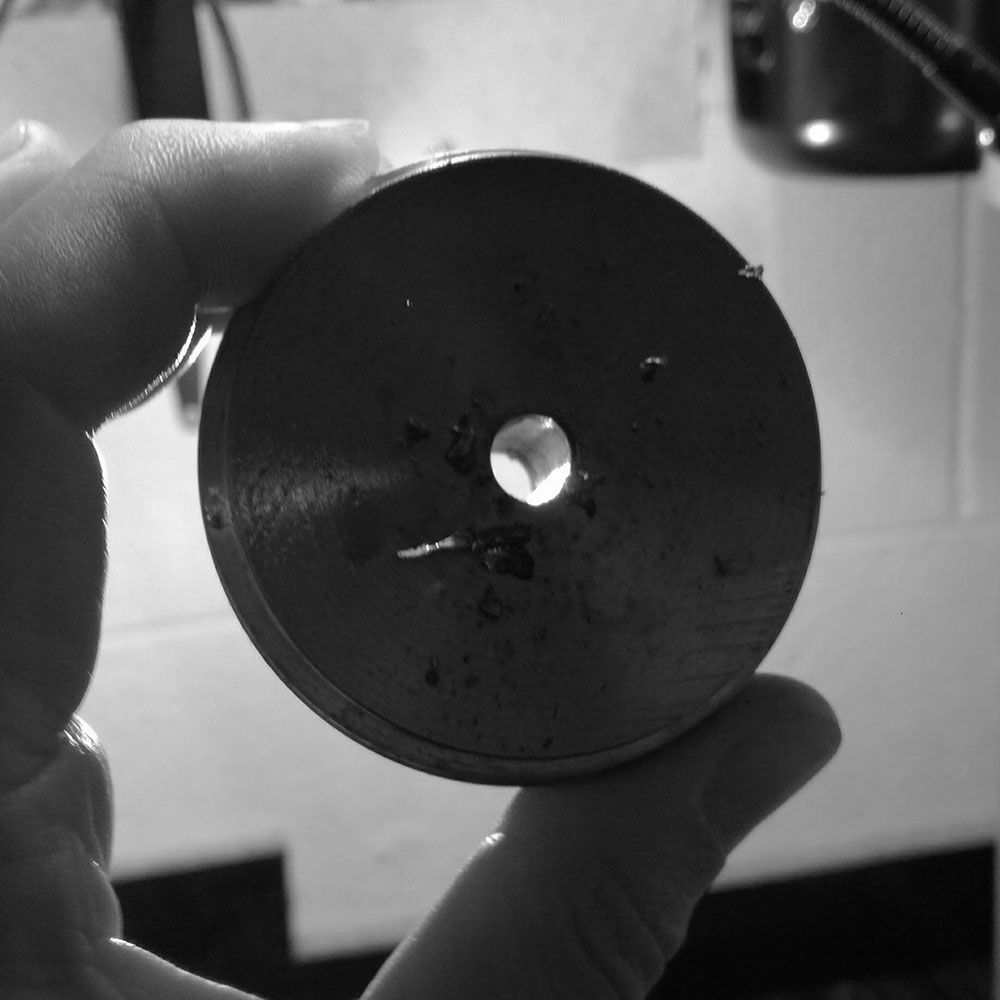
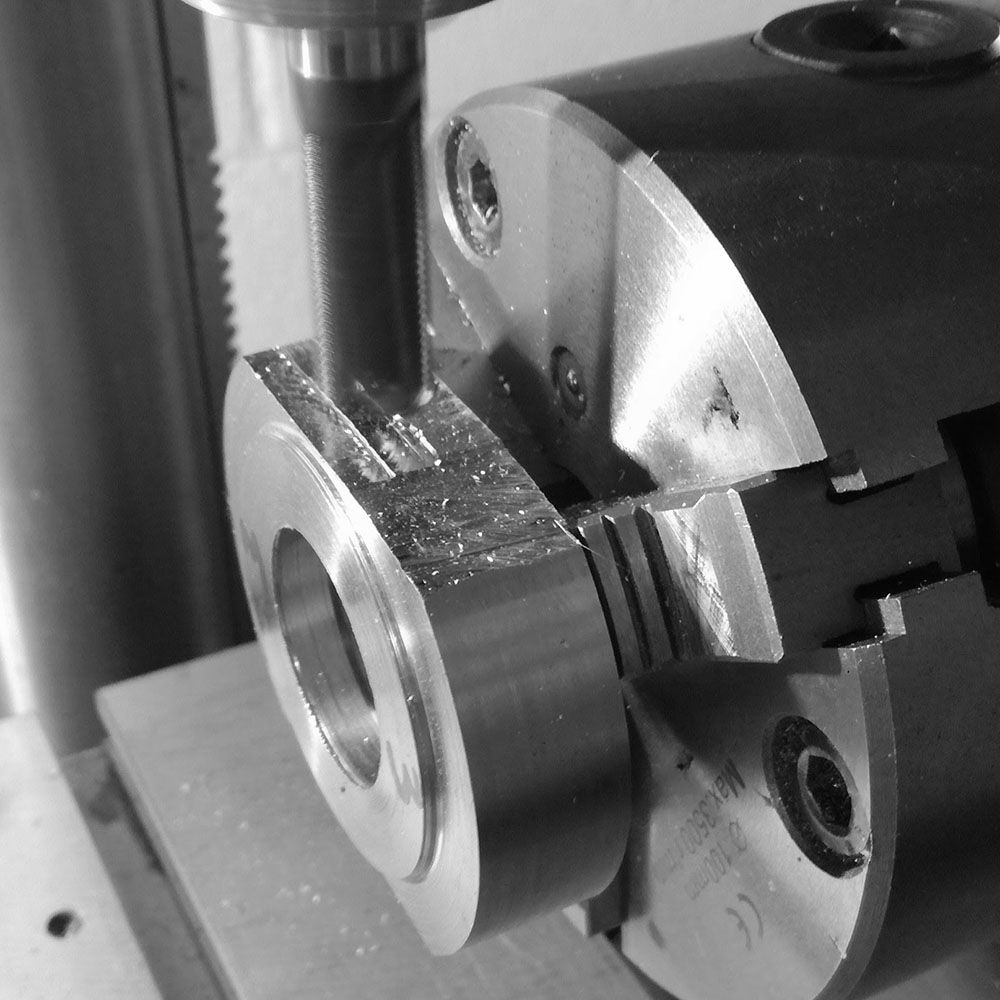
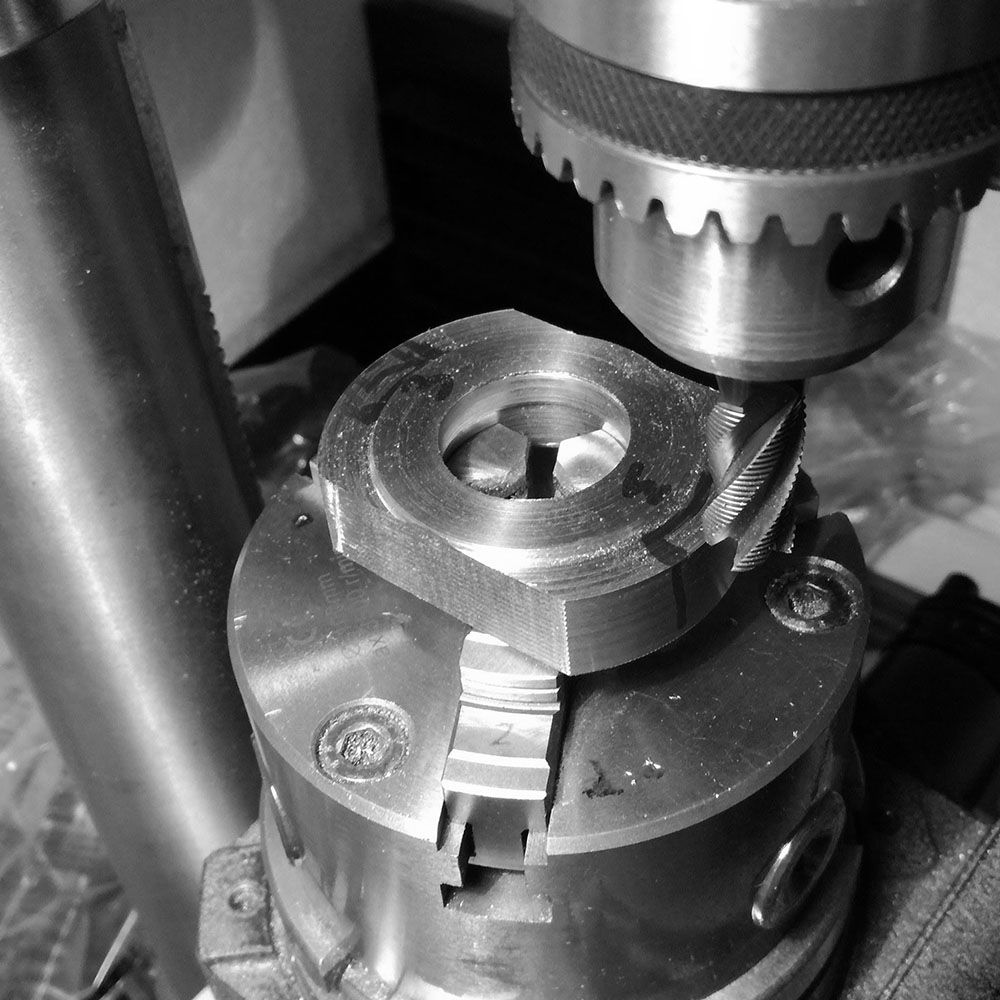
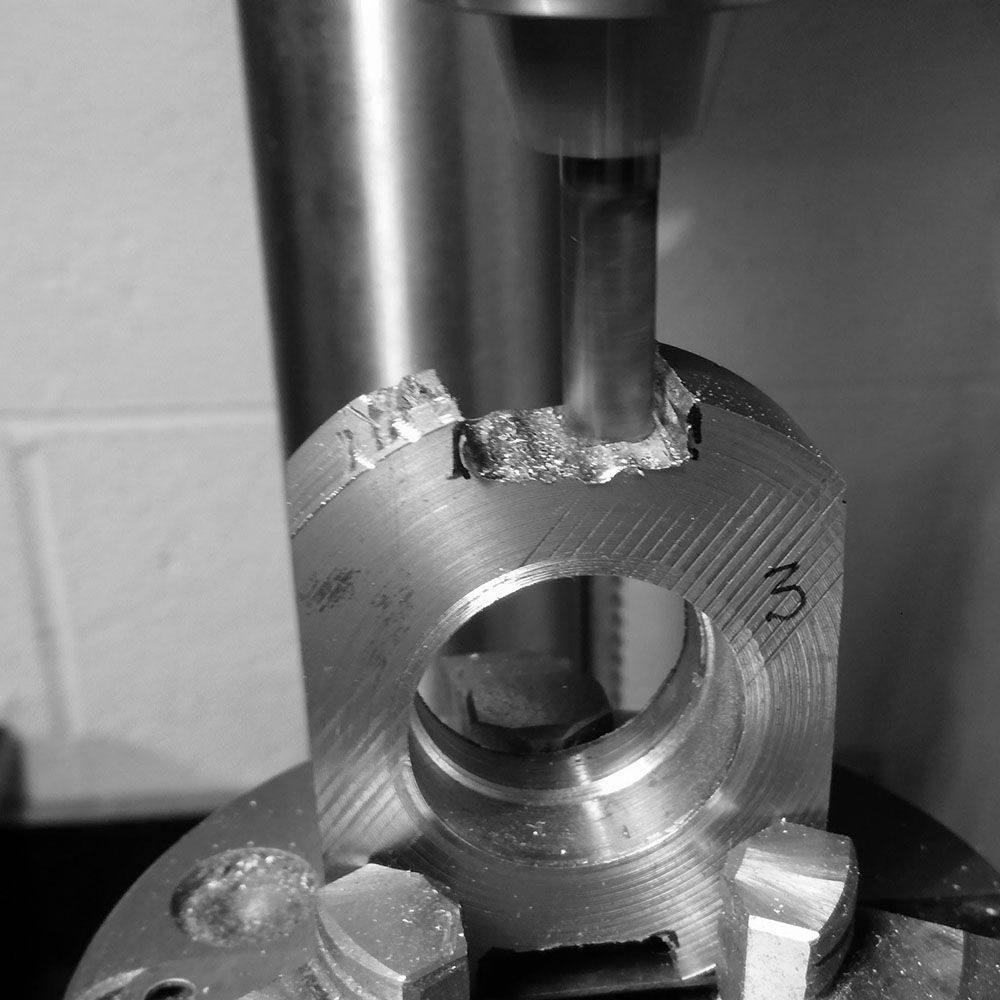
Initial guide hole with some cutting fluid.
Slow drilling.
Nearly through.
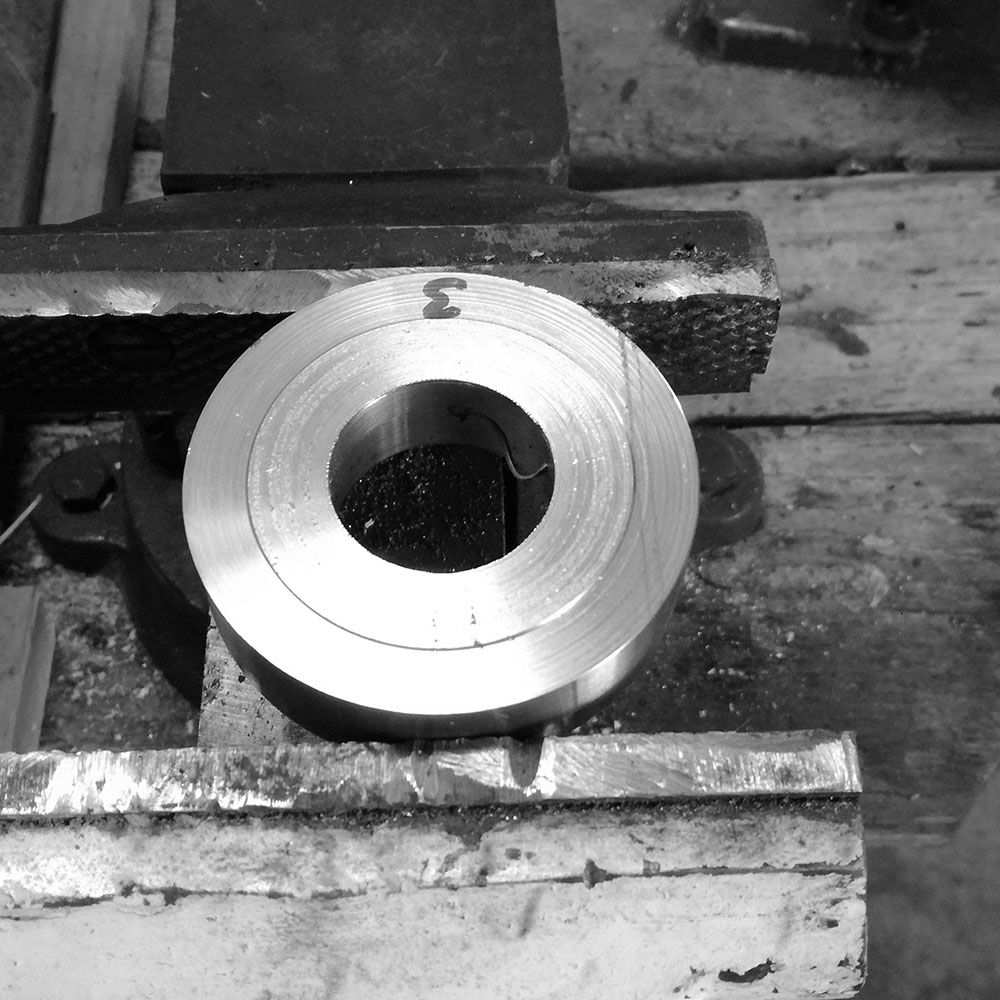
Initial hole in the billet.
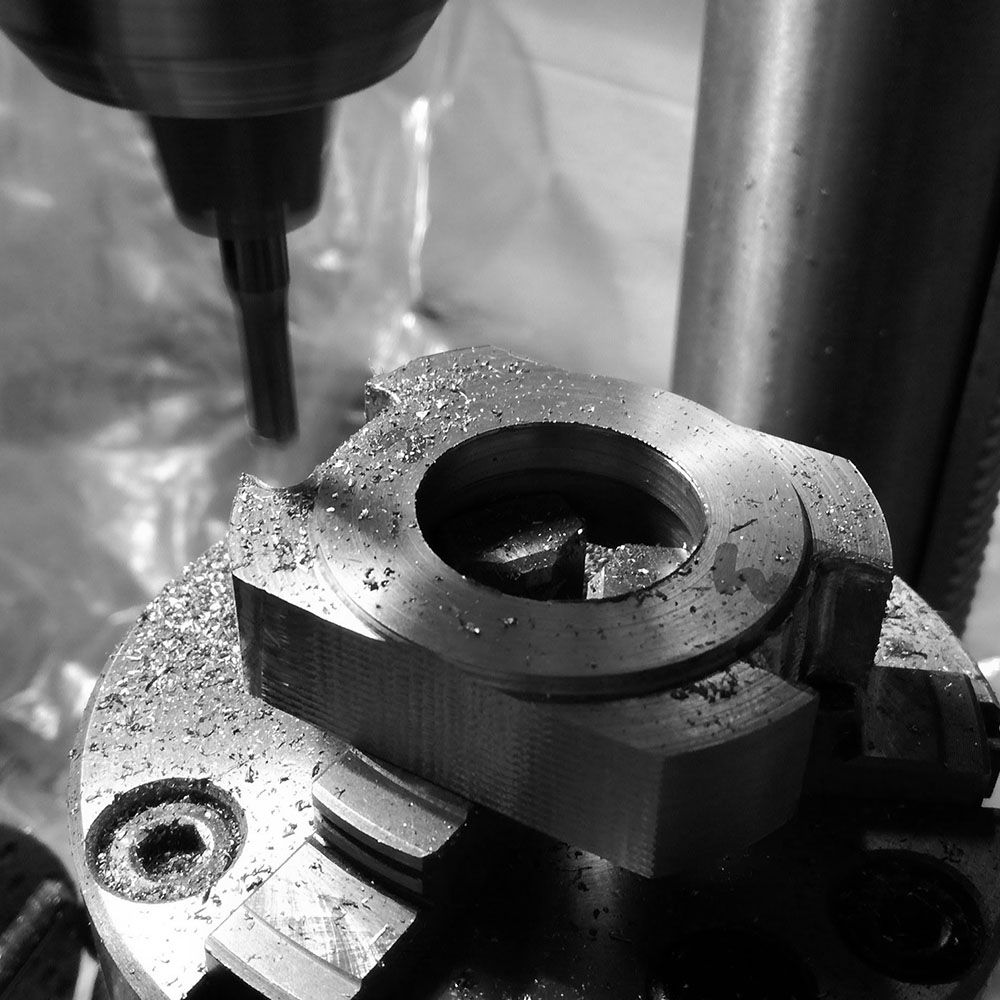
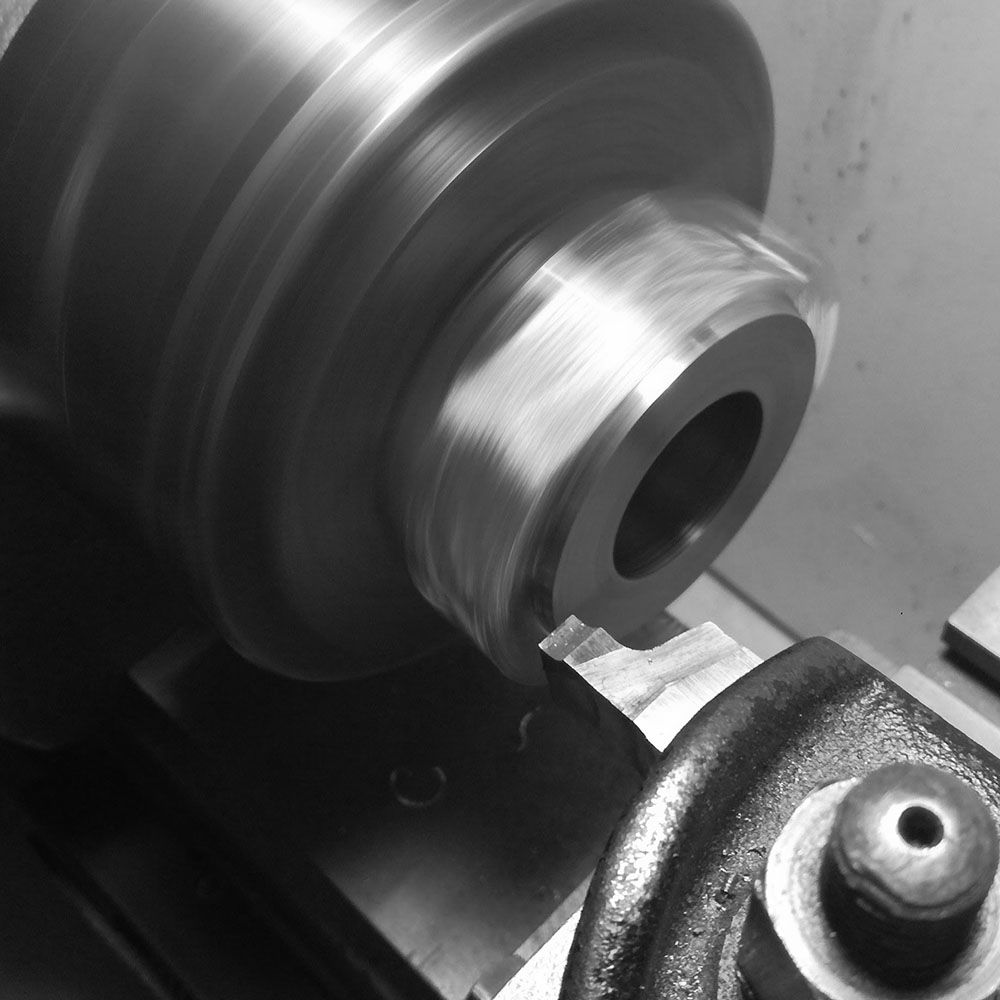
Facing off the piece.
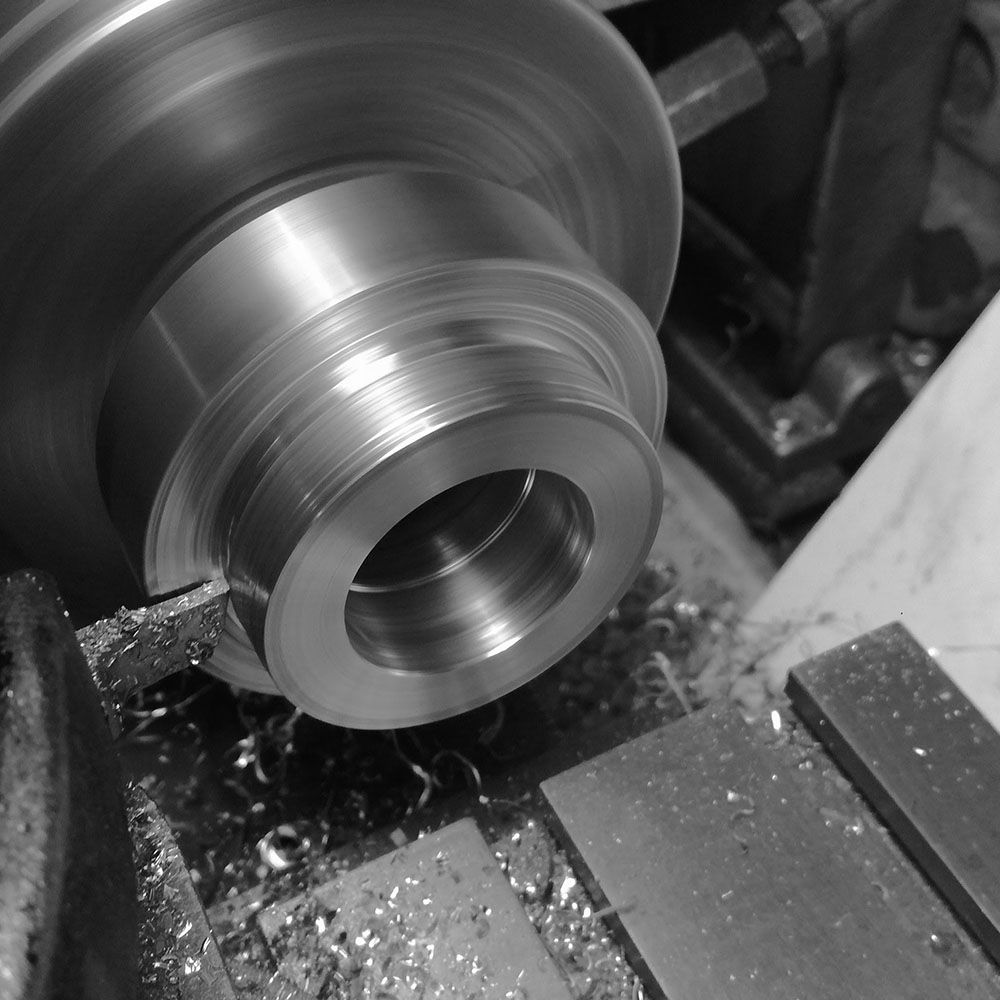
Turning of interior preliminary hole.
Turned and faced, sides to be cut in next step.
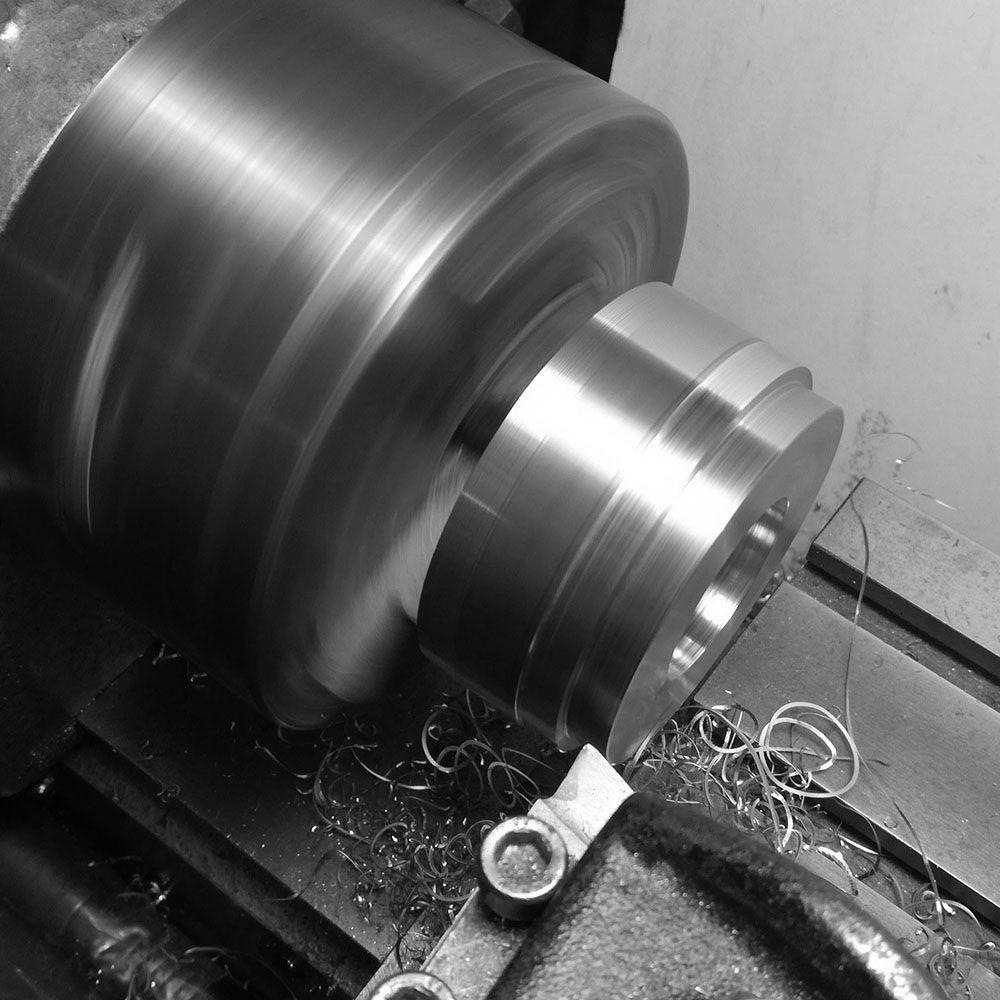
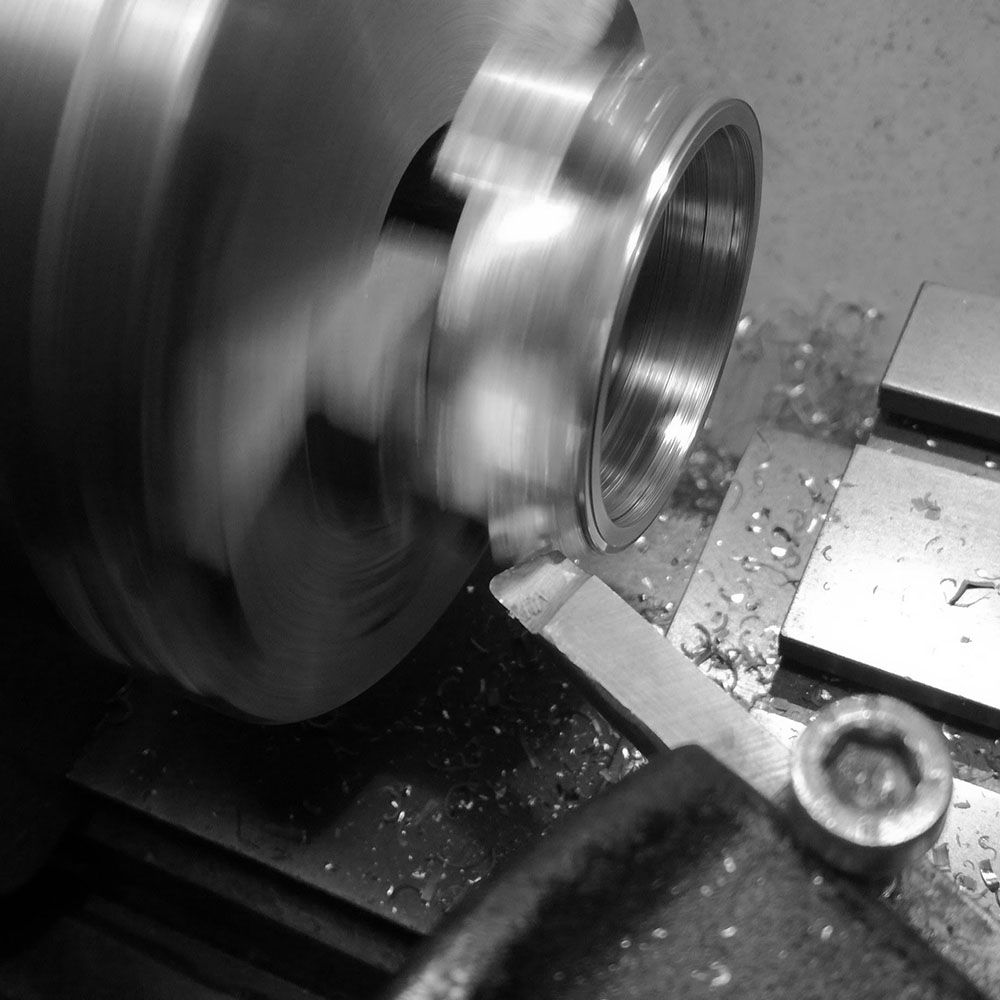
The billet is then turned in order to cut out the rough bezel.
Turning for the bezel.
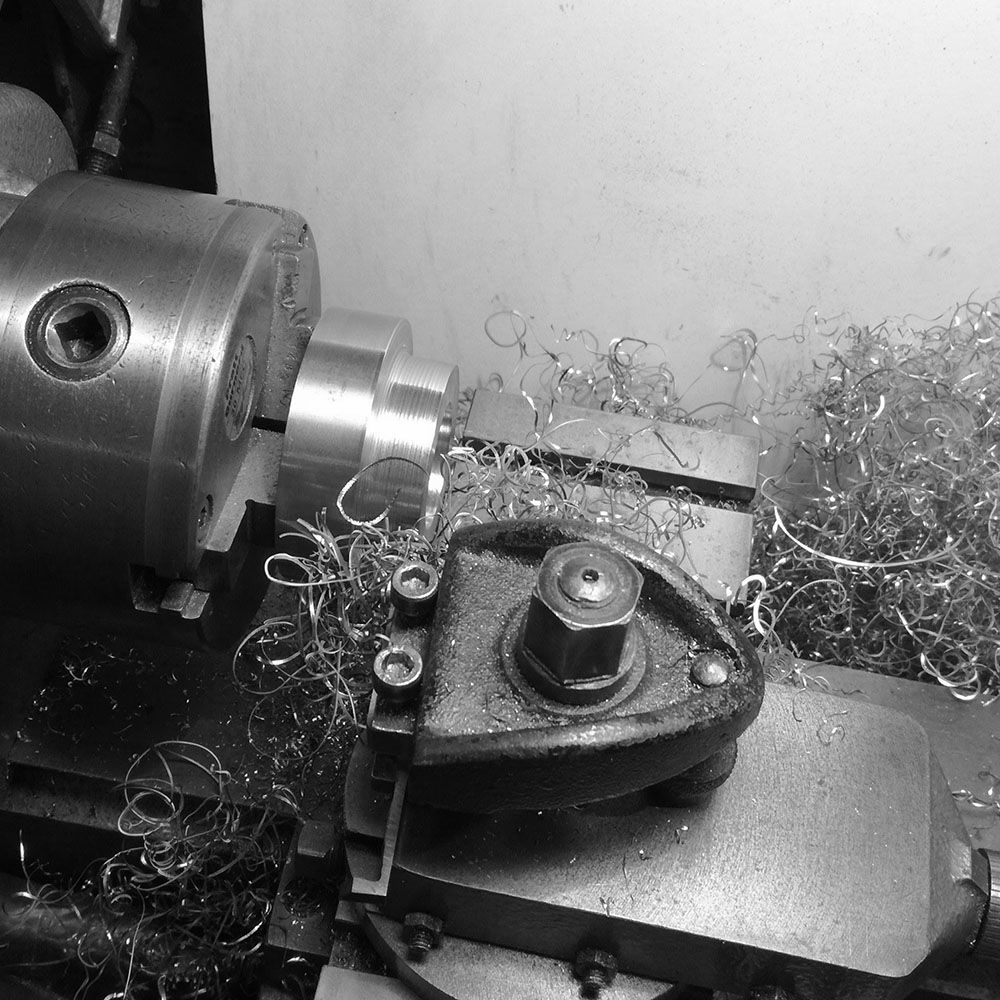
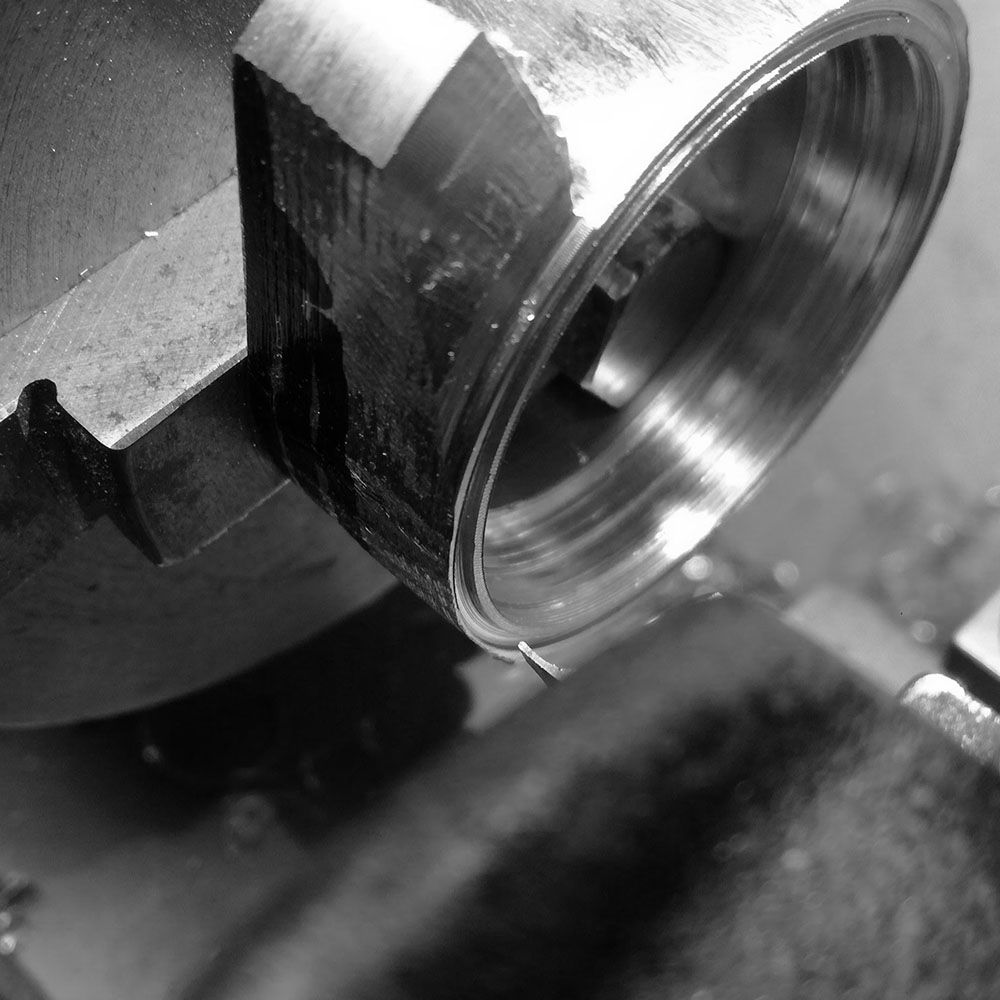
Initializing the parting off of the bezel.
Parting off the bezel continued.
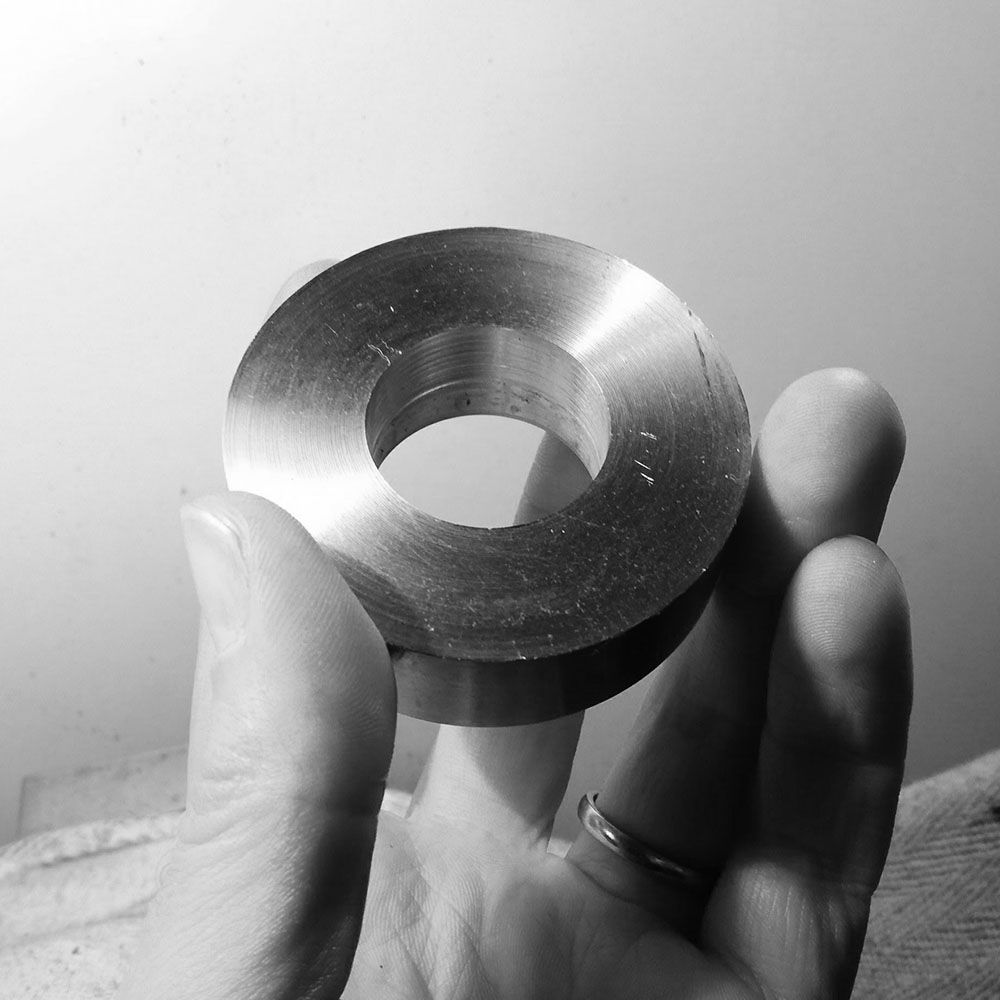
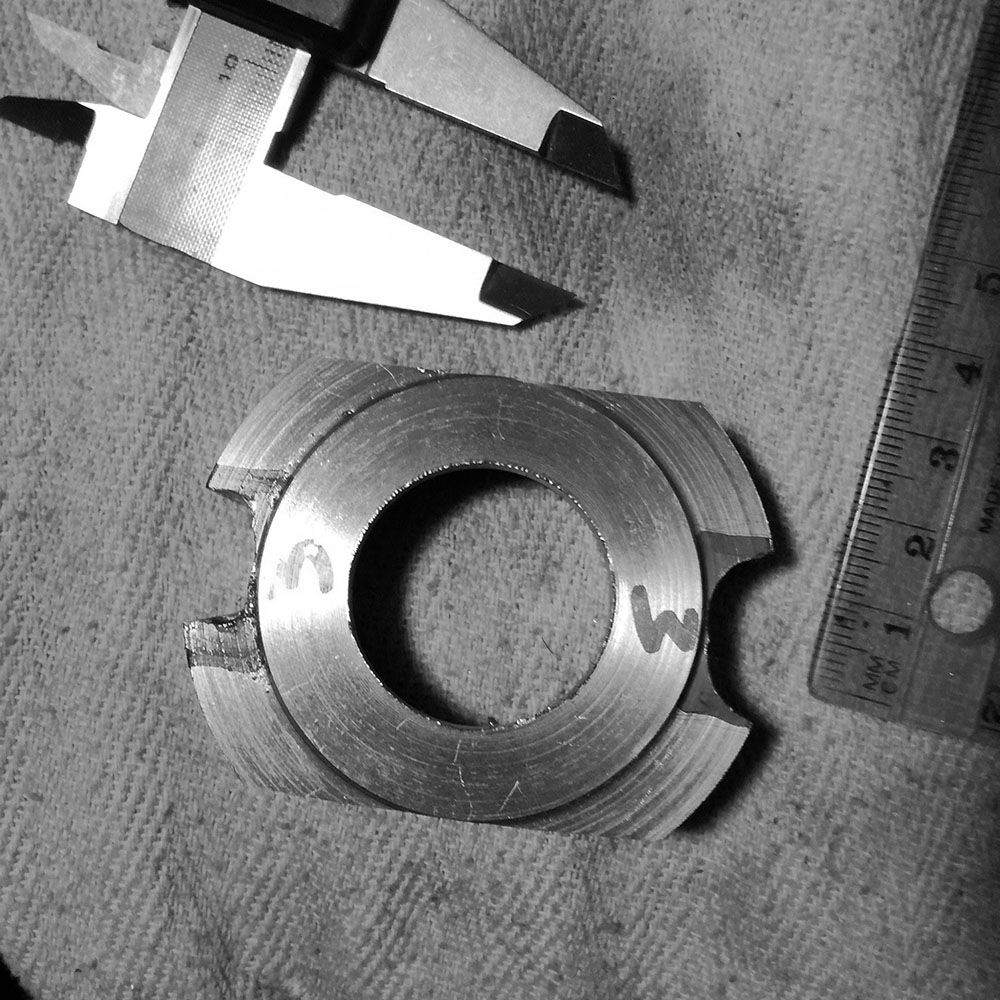
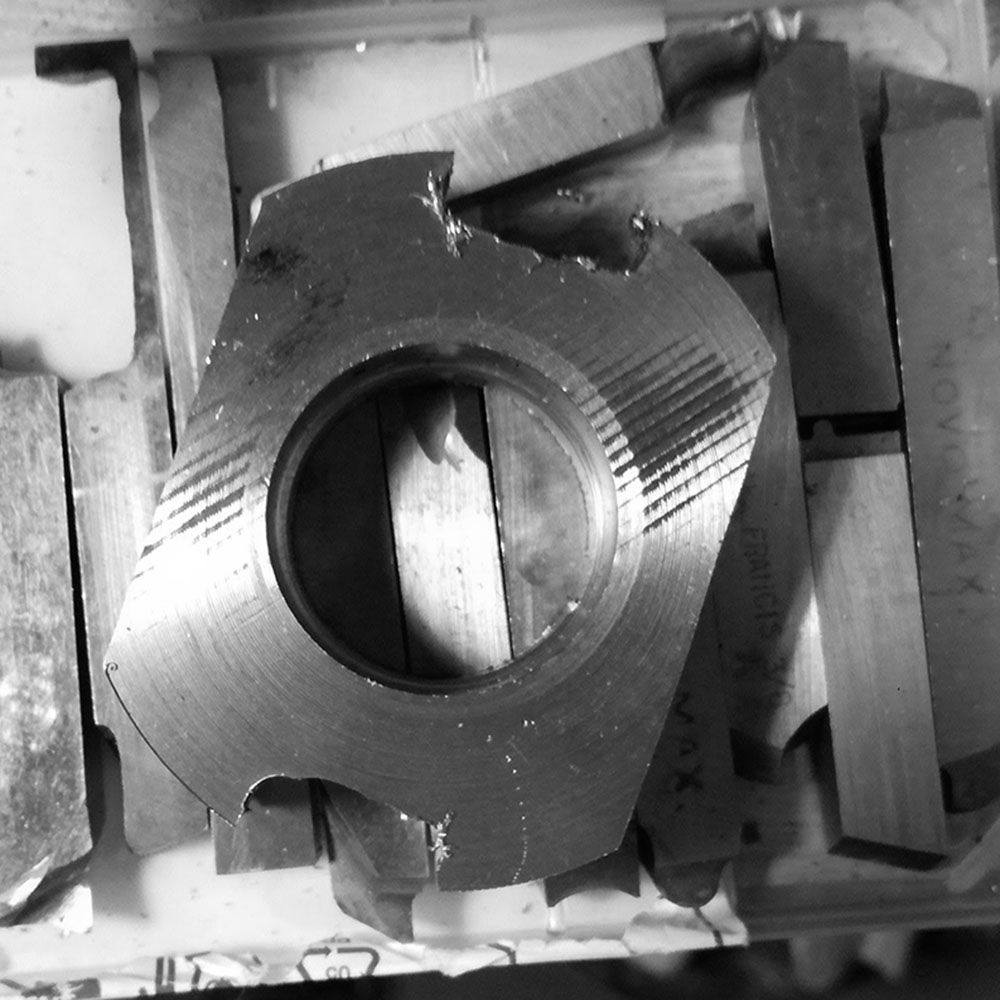
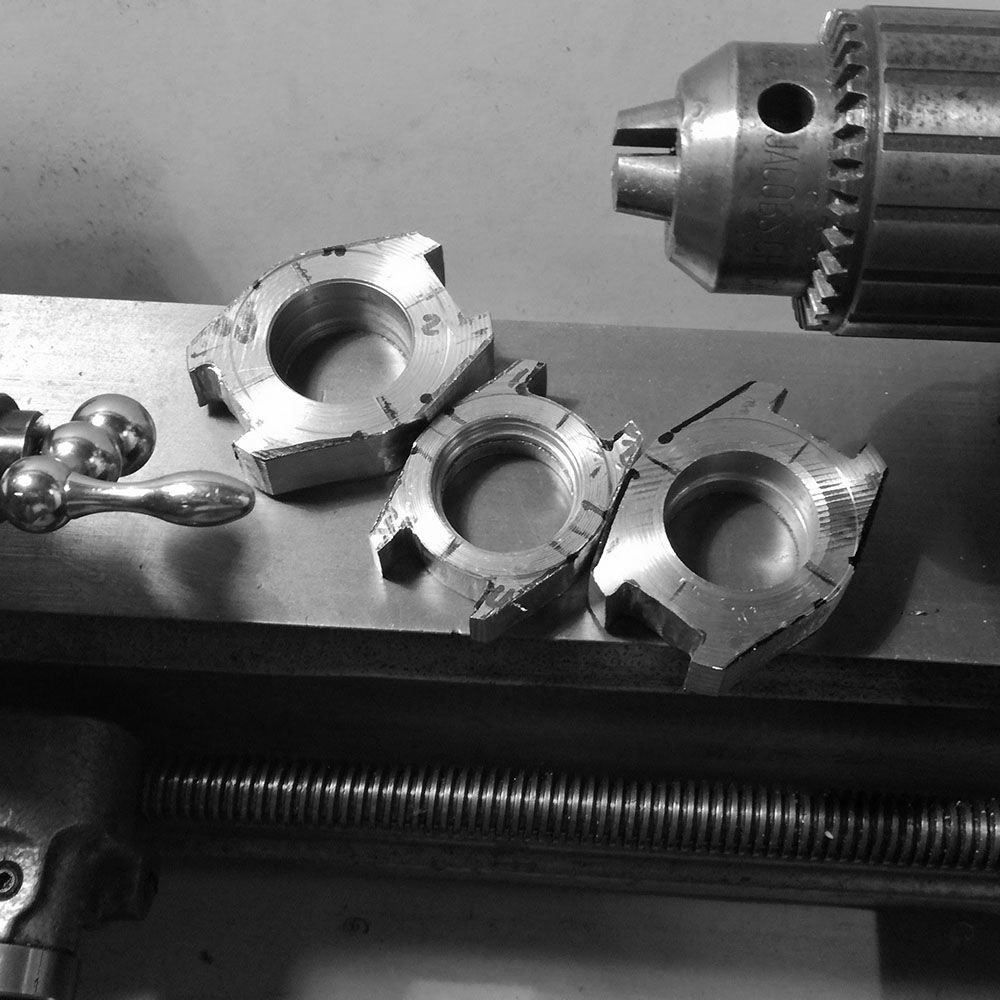
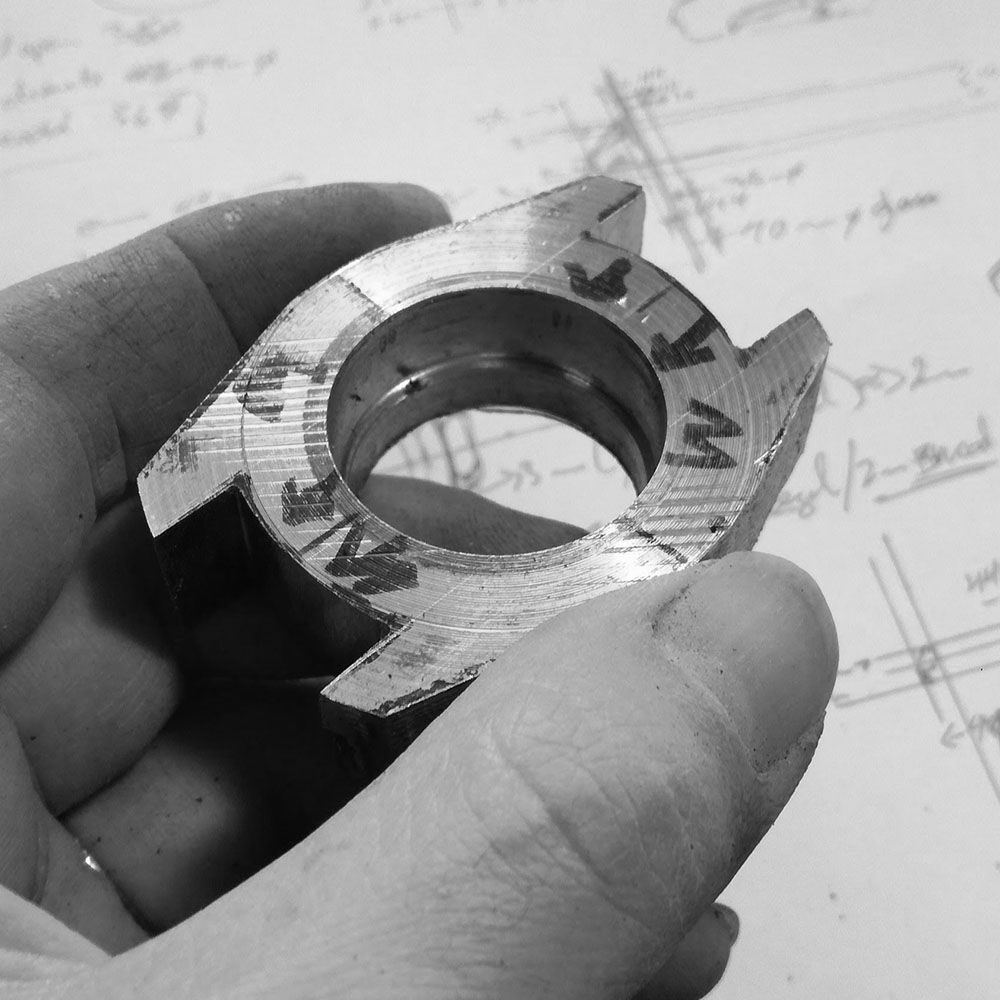
Rough ring to manufacture bezel.
Items are numbered so that they belong to the same billet.
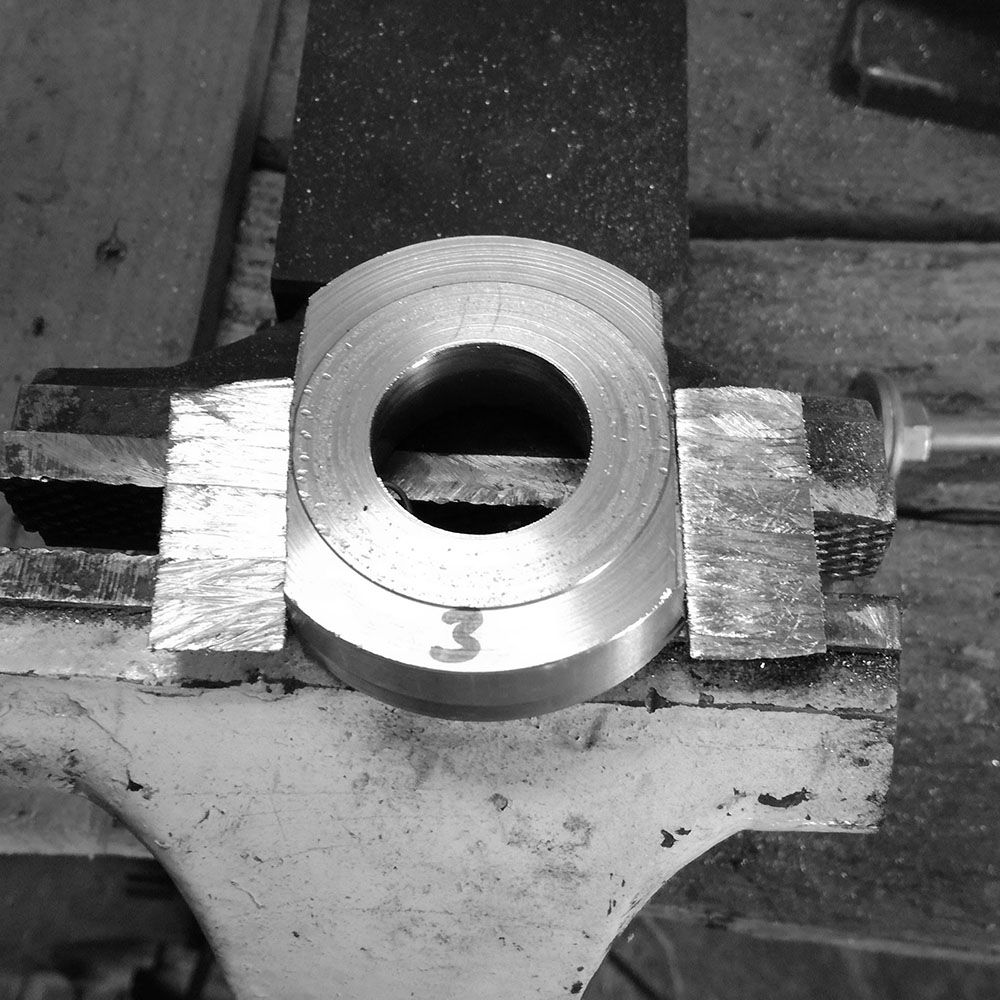
The case body is placed in a vice and sides are rough cut by hand.
One side cut.
Both sides have been cut.
A smaller guide circle is turned in order to use in the creation of parallel sides.
Rough 47mm diameter circle.
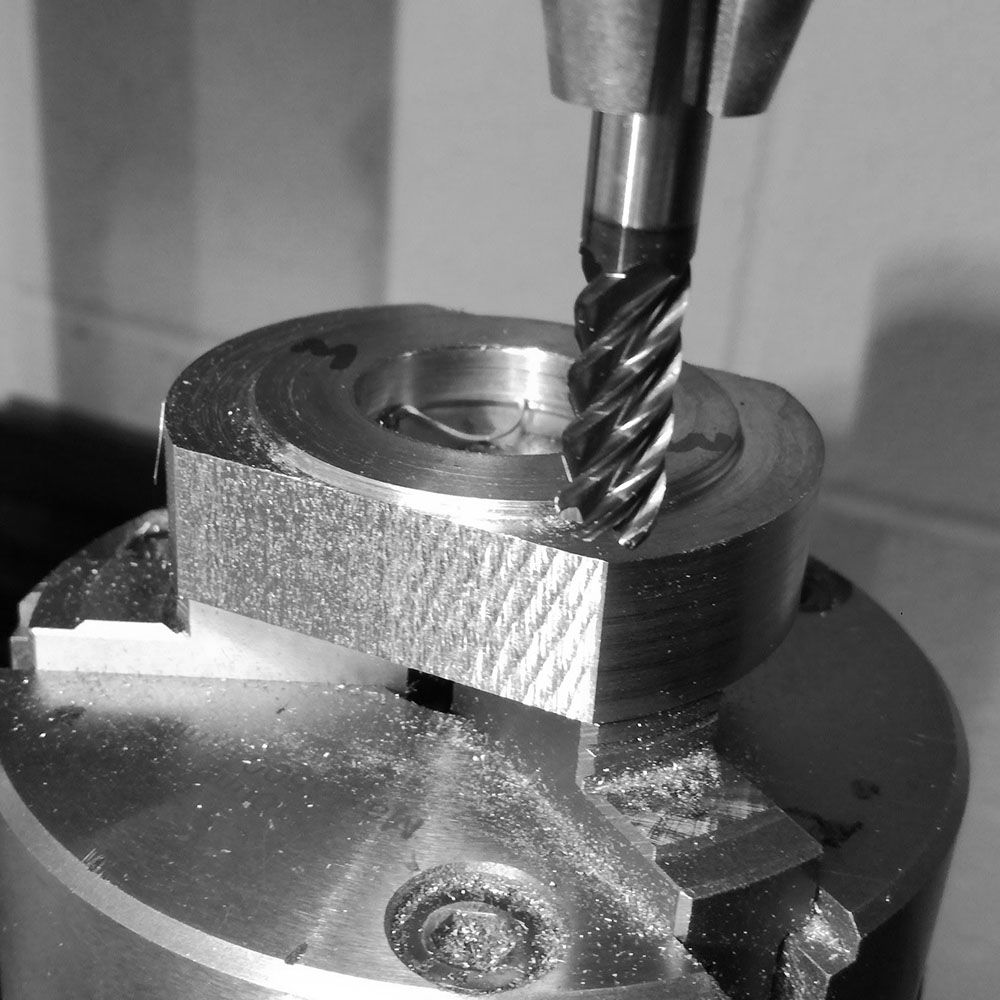
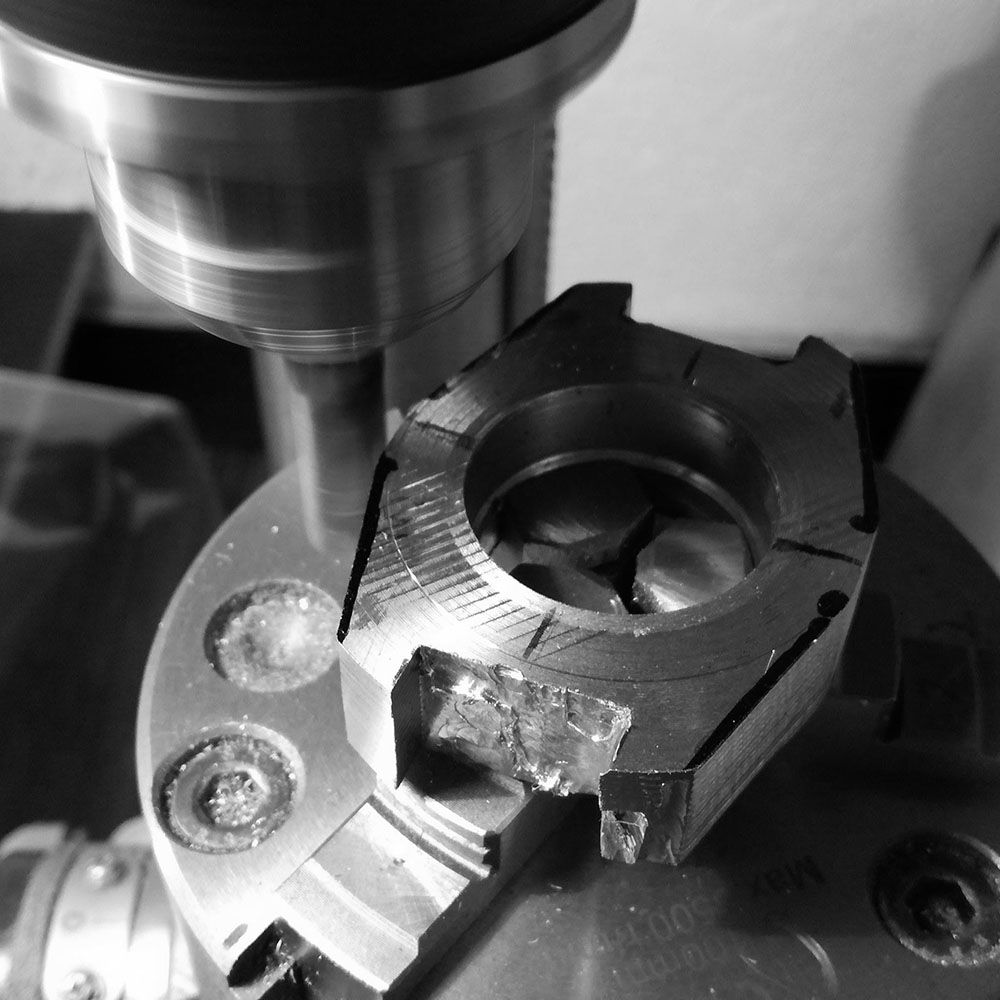
End milling of sides to be parallel.
Further end-milling.
Side milling for better finishing.
Sides finished. These are parallel to a 10th of a millimeter at this stage.
A rough designation of the interior area of the lugs is milled out.
Milling the interior of the lugs, allows the creation of more precise outside cutting.
One side rough cut, other commenced.
Initial rough cutting.
Rough measurements to proceed with further cutting of interior of lugs.
More end milling.
Rough cuts to be further refined.
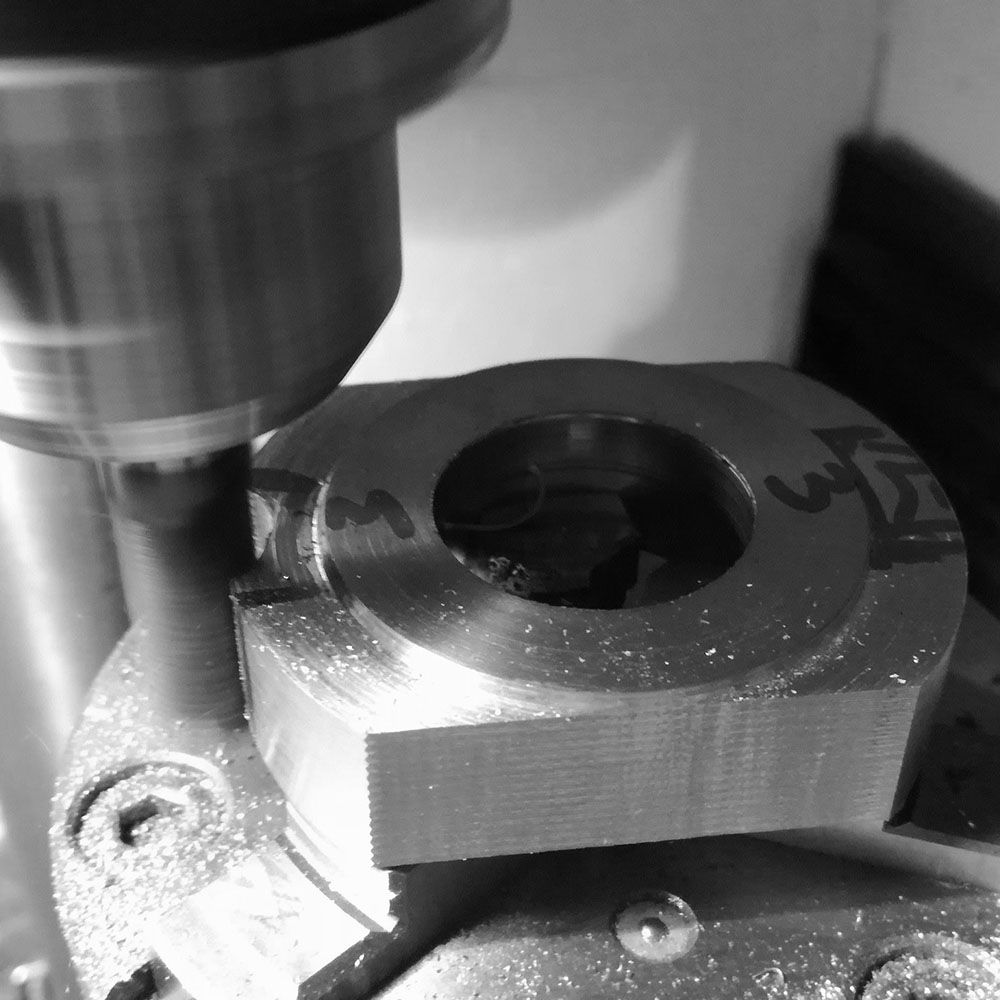
Here I am end milling the interior are of the lugs so that the right angle of the milling cutter gives a cleaner surface to measure.
Further milling.
The cases have had their lugs end-milled and are ready for further work.
Placing the case against a quadrant drawing and a stencil to mark out the general lines to be milled away.
The case lug profile is milled out.
The bezel area of the case, which will be cut away at another stage is being marked to final measurement.
Further cutting of the guide measurements.
*
The cut is used to guide more precise shaping of the lugs.
The three cases ready for further milling operations.
The case is marked and then the milling machines ensures straight lines are cut.
The case is cut to within .5mm of final diameter.
Now the interior space of the lugs is filed by hand.
The case is placed in a large vice so that the jaws form a level with which to file the case properly (and not at an angle).
The interior side of the lugs is being filed.
Top lugs shaped, and will be given further attention as the case is finished further.
The other lugs placed for filing.
The interior of the lugs filed to .5-1mm of final size.
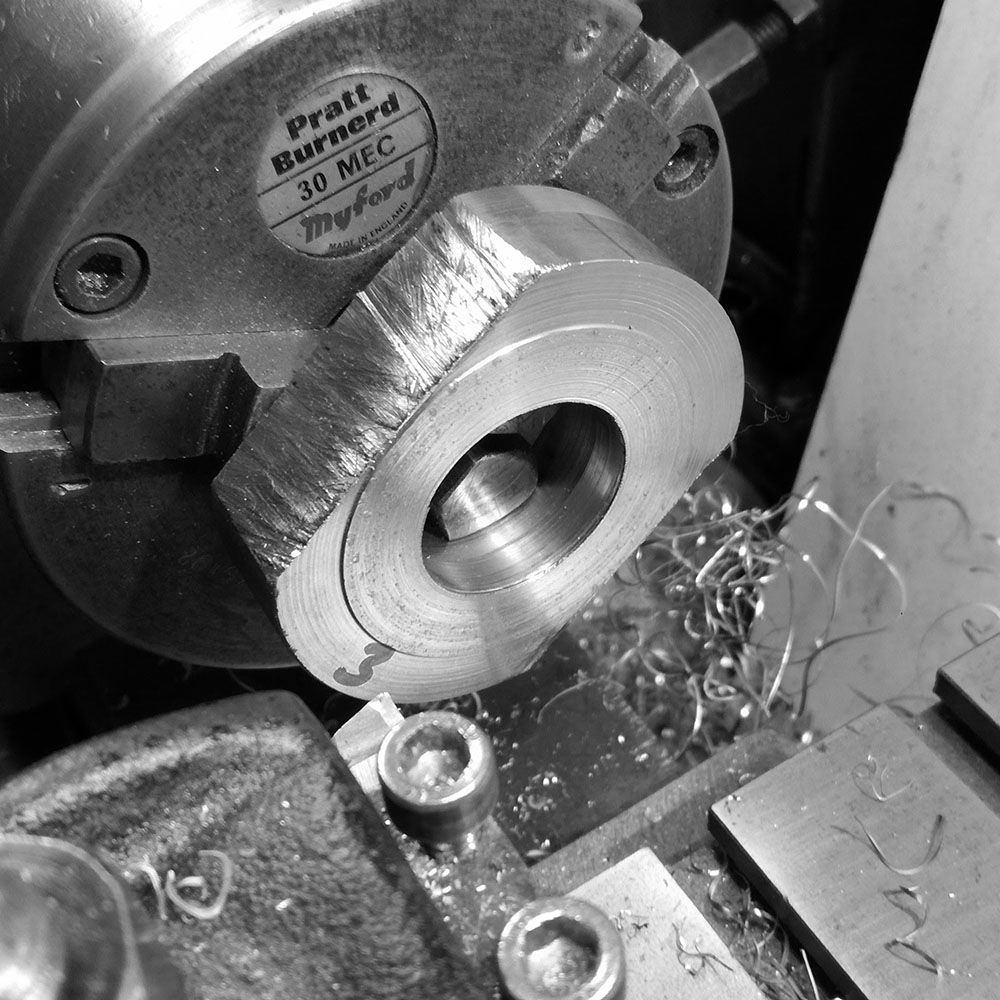
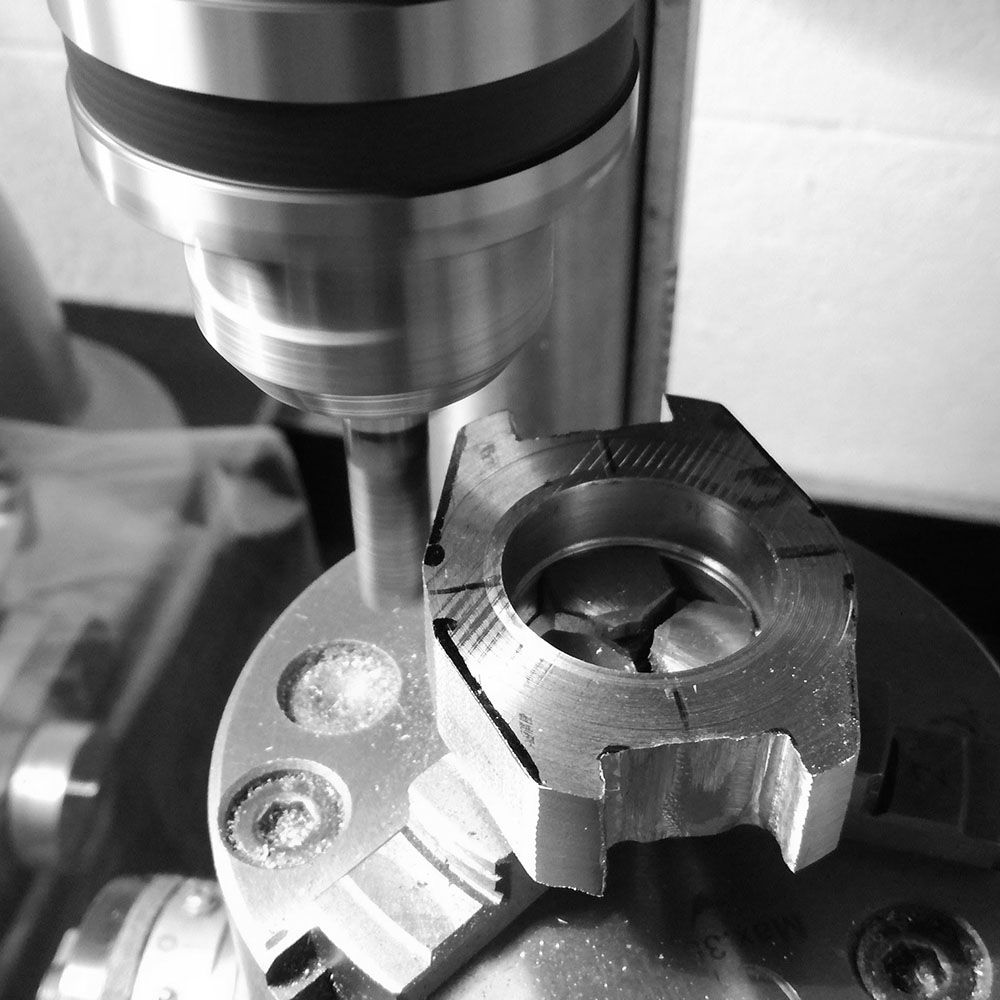
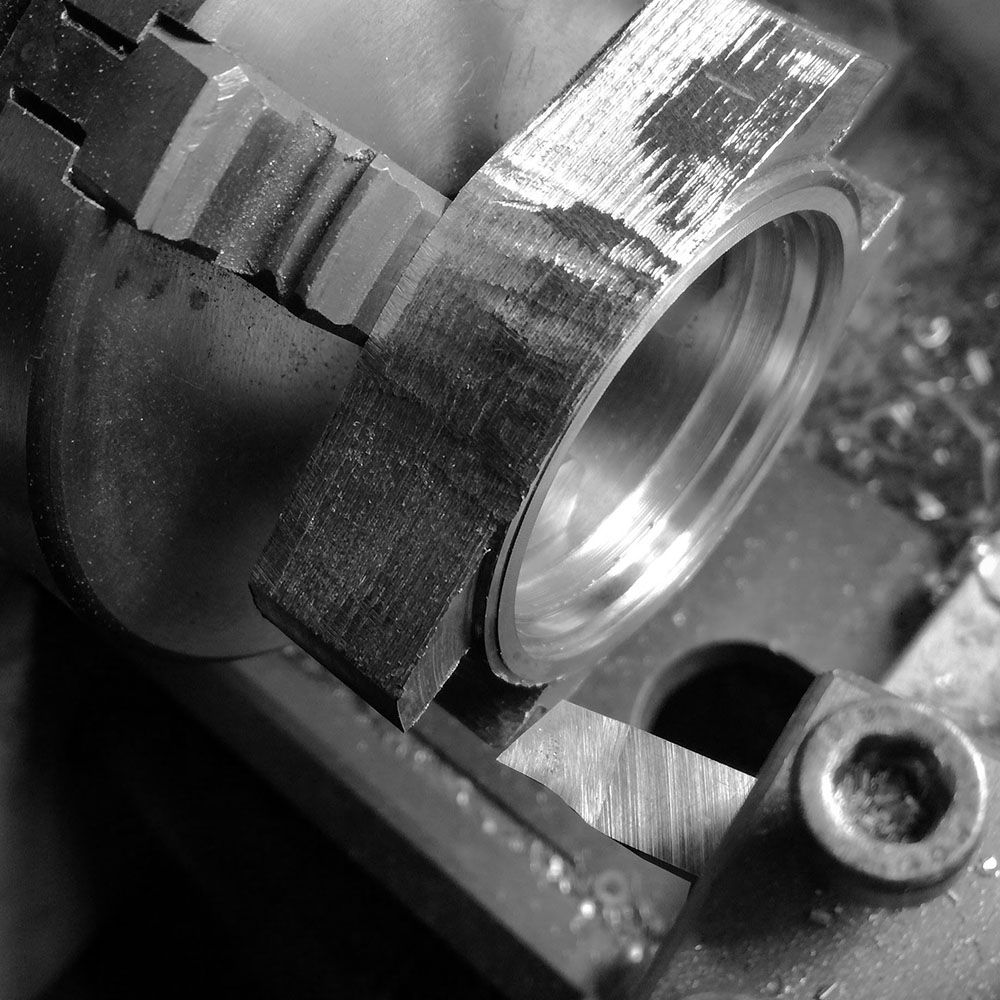
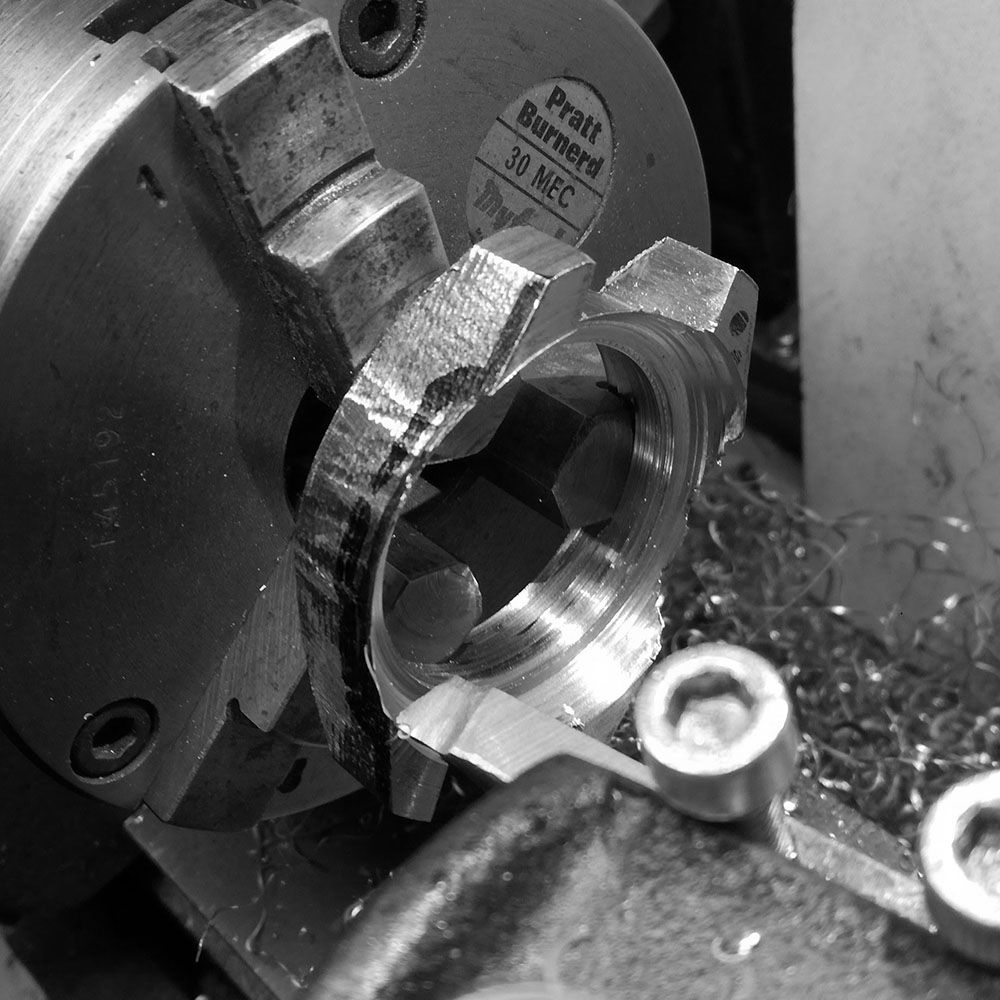
The case is placed in the lathe to turn the movement seating.
A different tool cutter is used for the interior boring of the case.
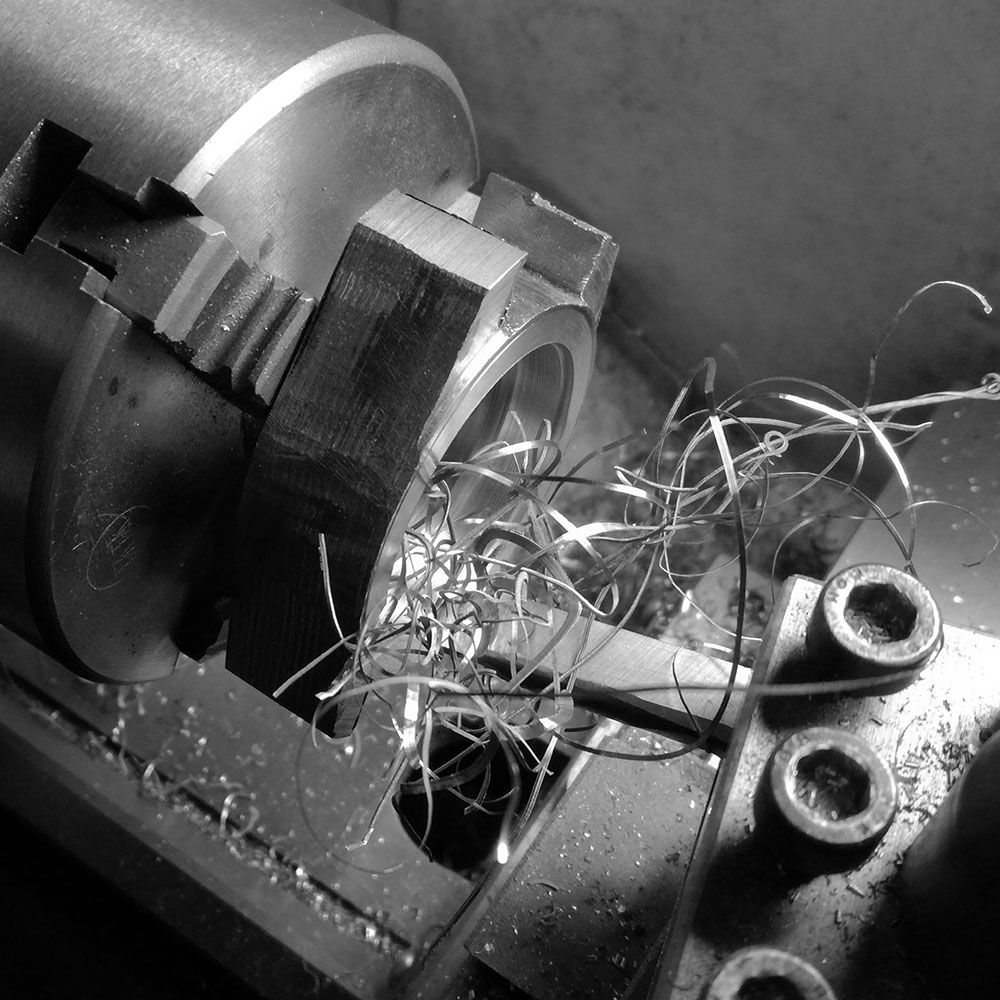
Work is stopped often to clear the swarf that builds up after each cut.
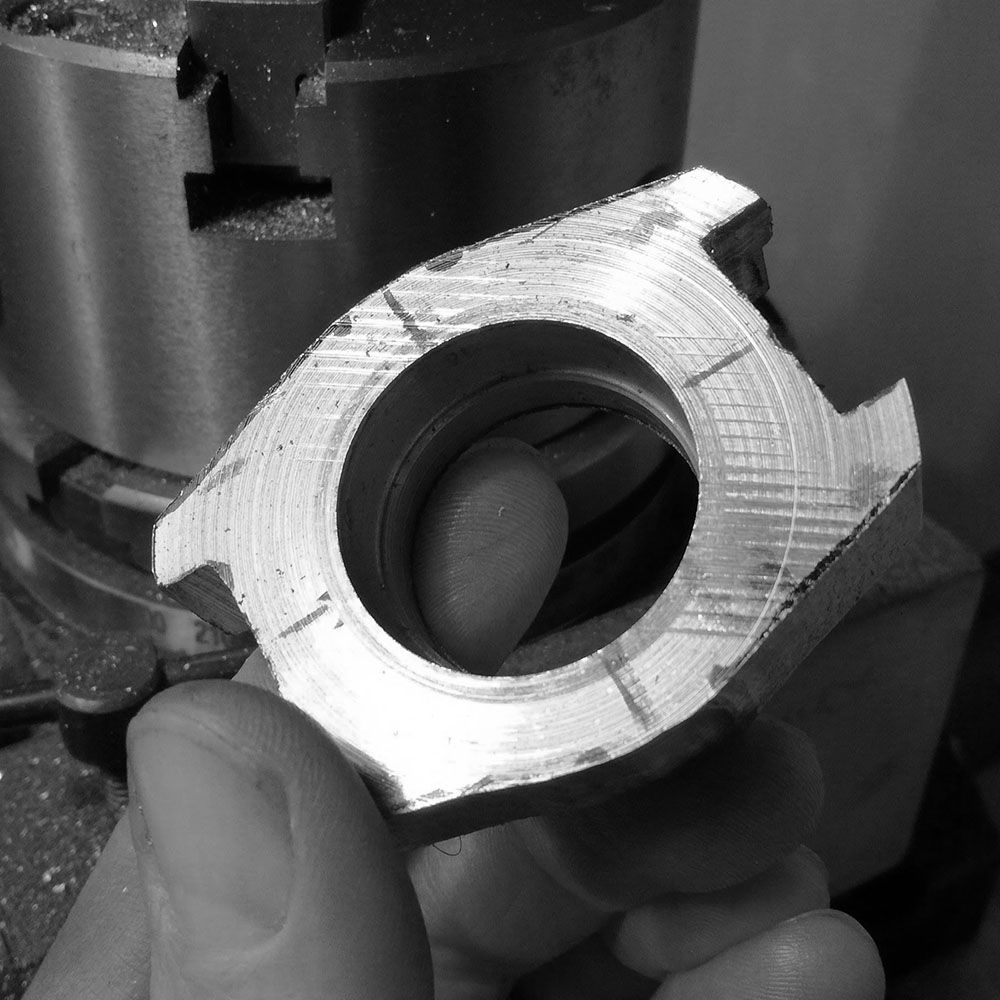
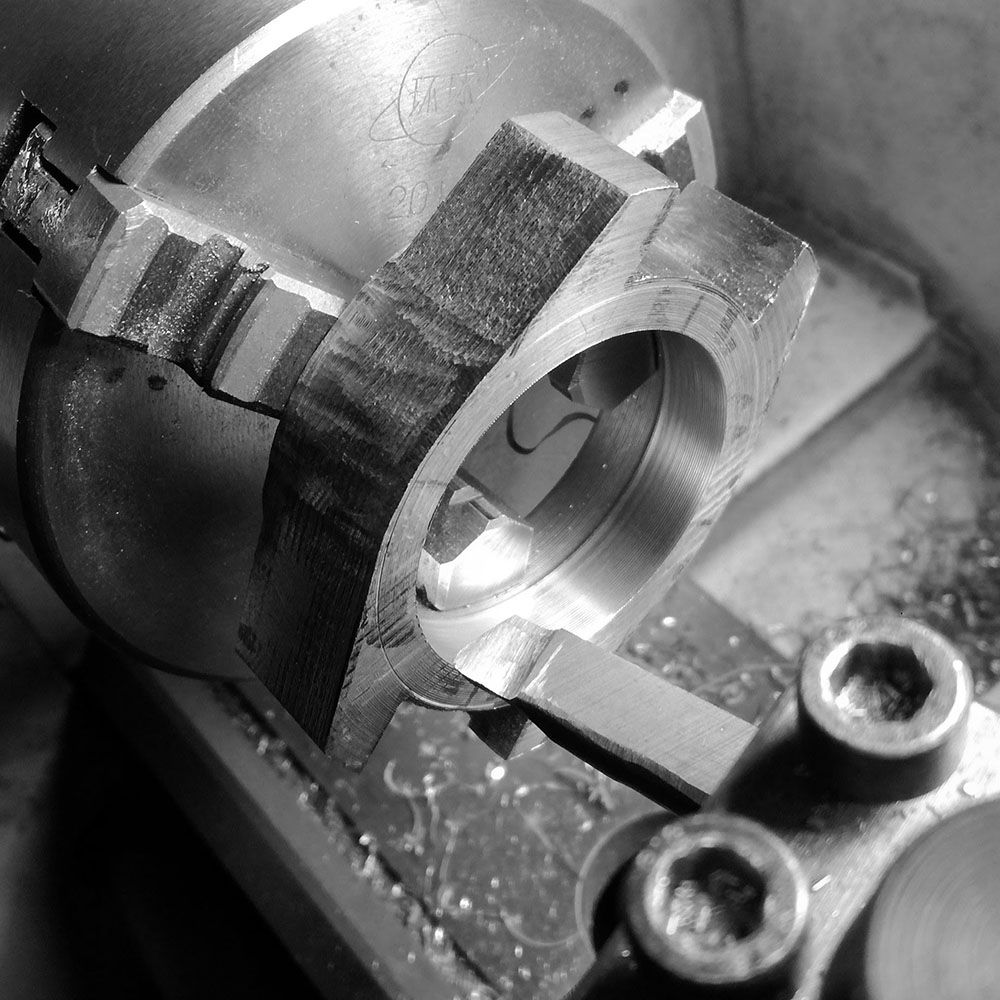
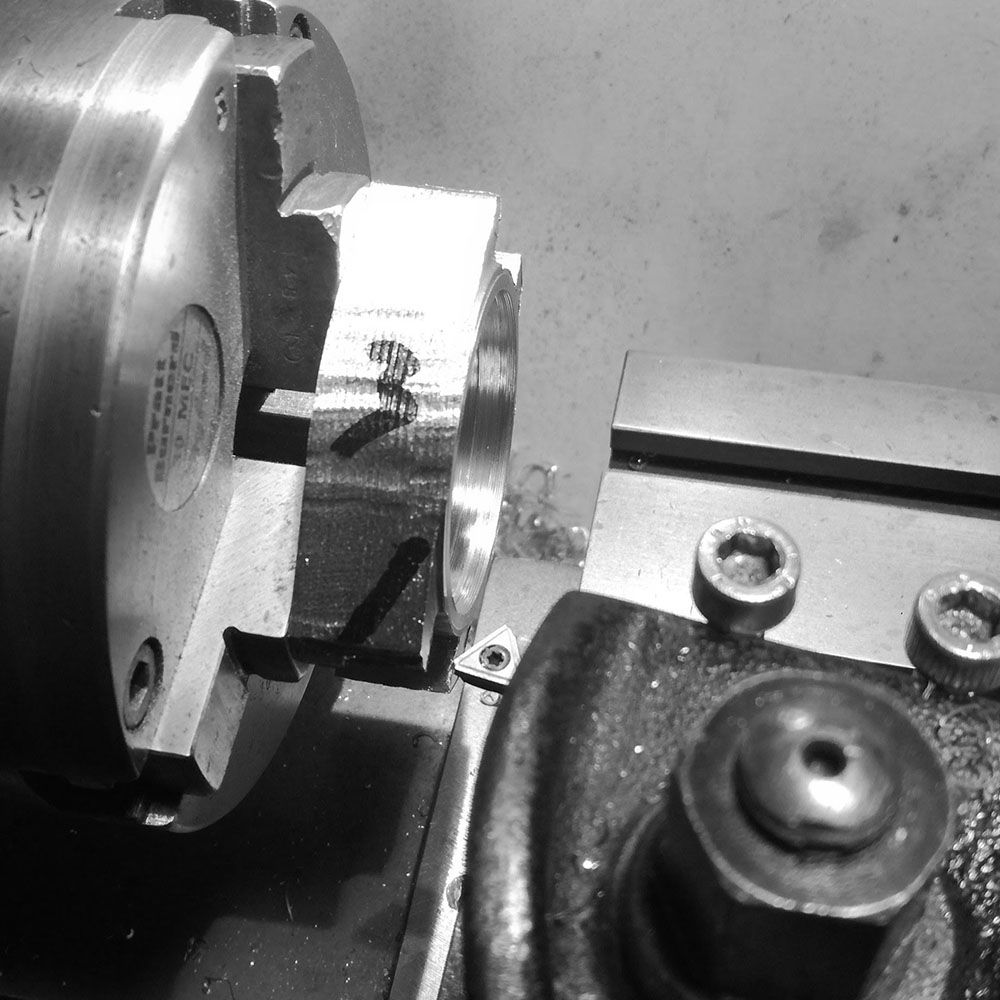
The smallest diameter is turned.
The case is turned around and the smallest diameter of the movement is turned.
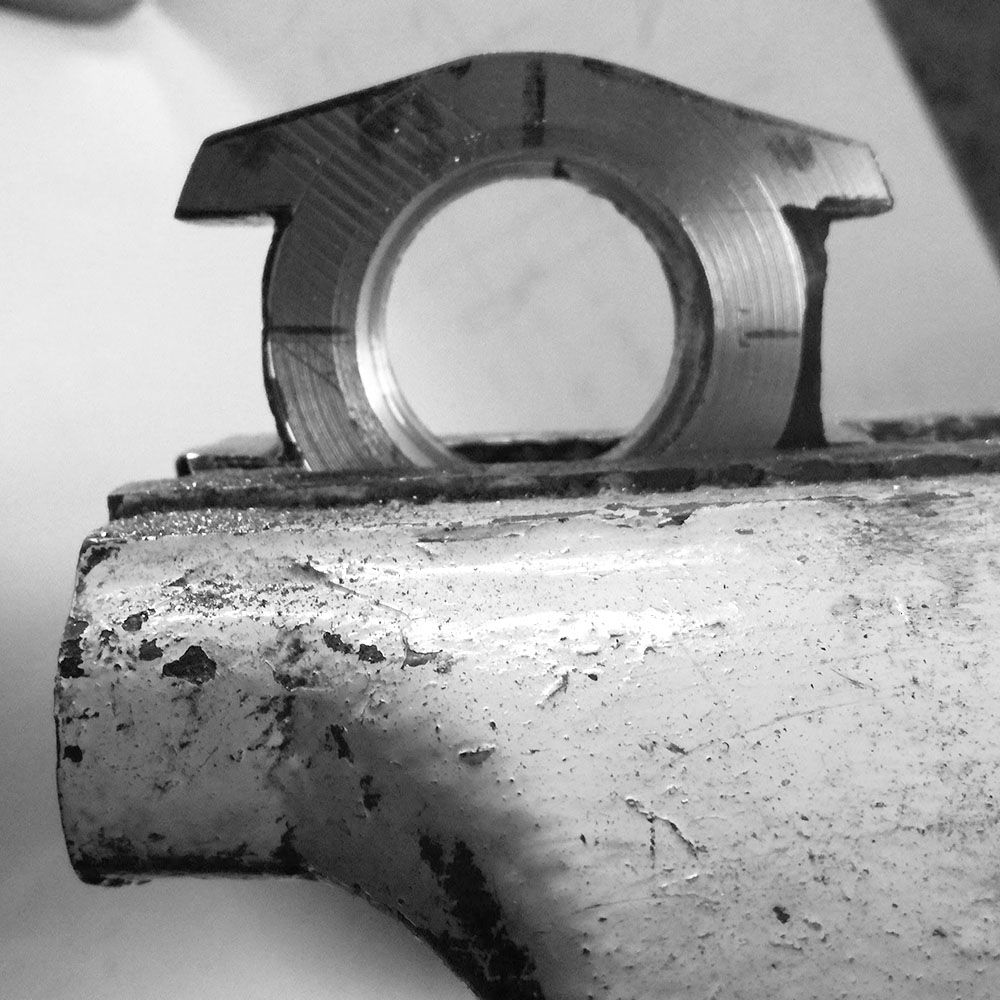
Nearing the final value.
Boring from the back of the case is finished, it will be further turned to create the display back, and contour given to the bottom of the lugs.
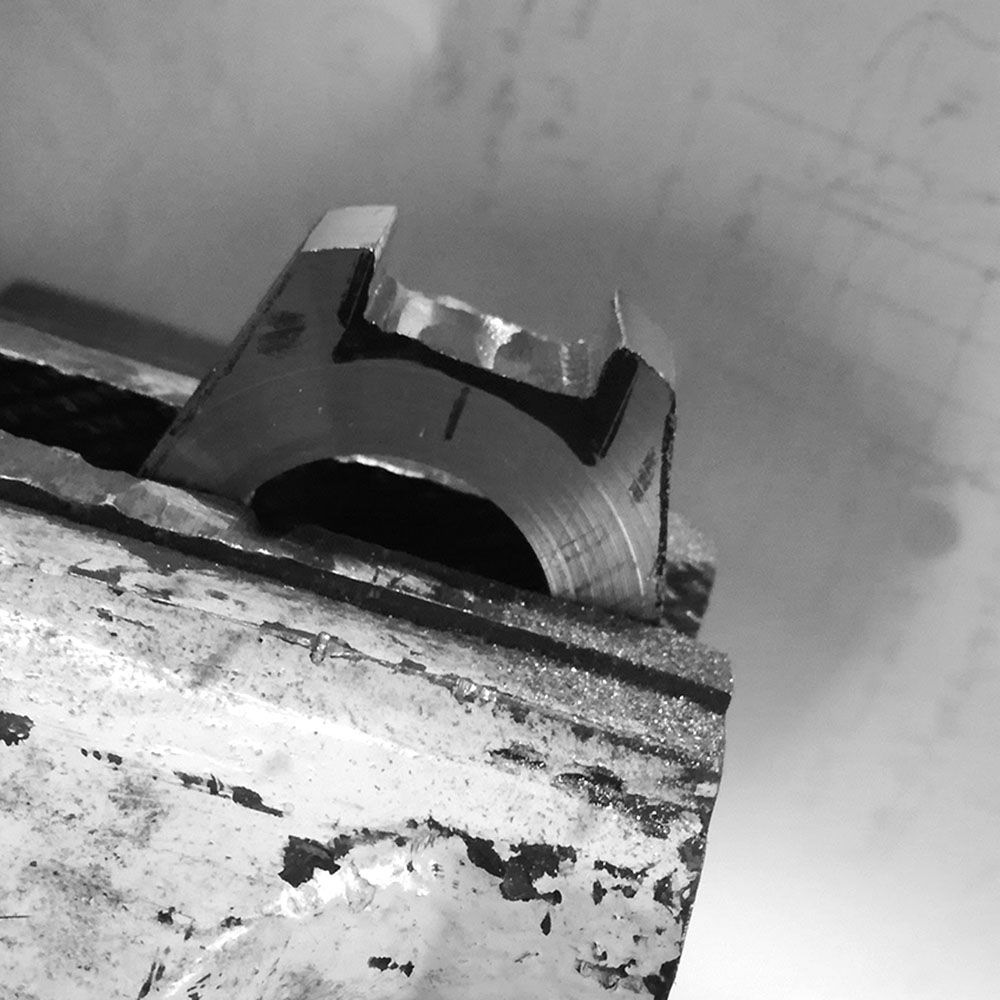
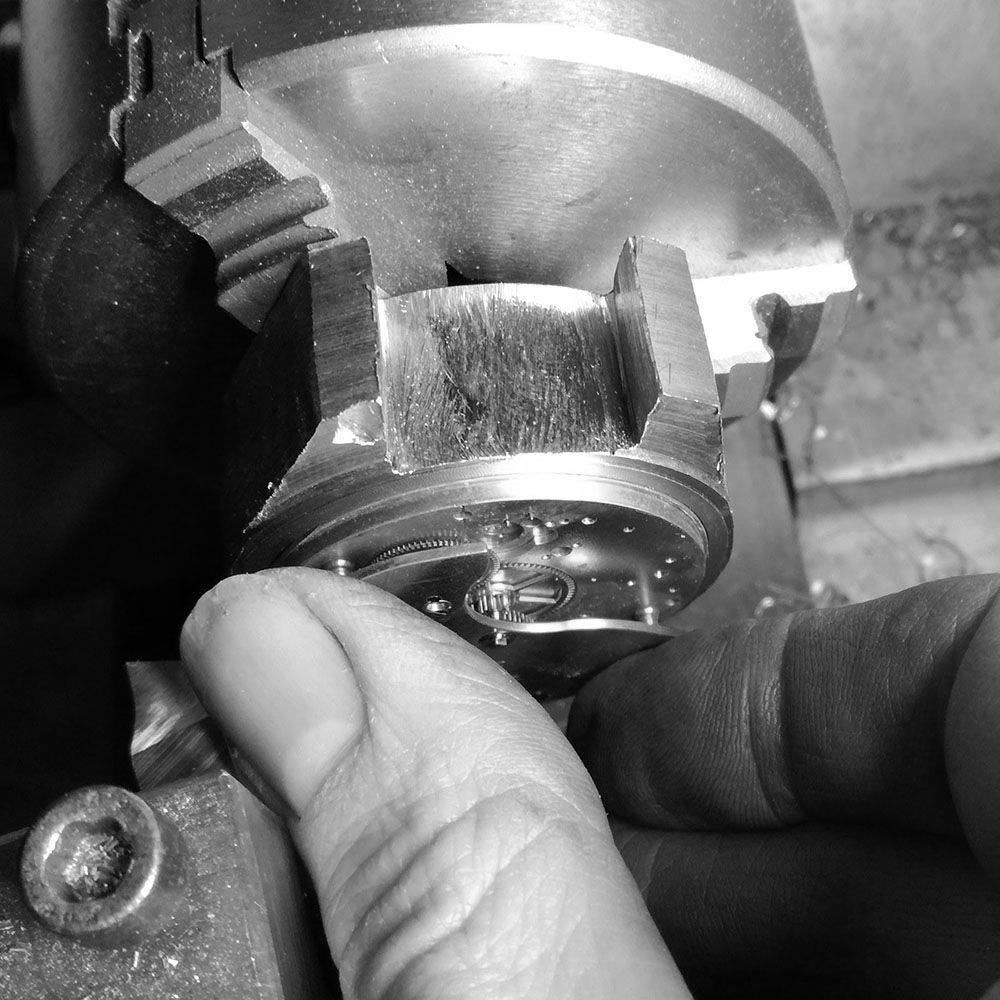
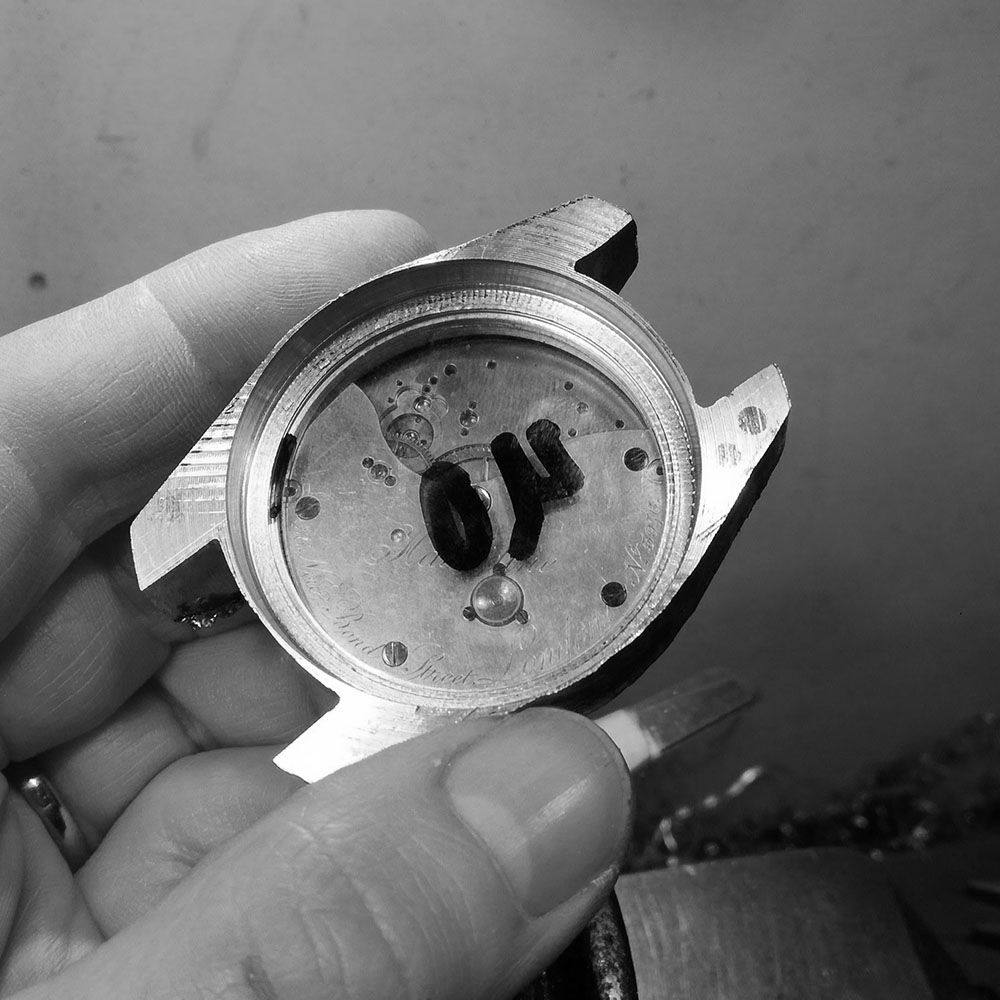
The case was turned around, and the top movement seating given. Here I am checking the micrometer reading with the movement.
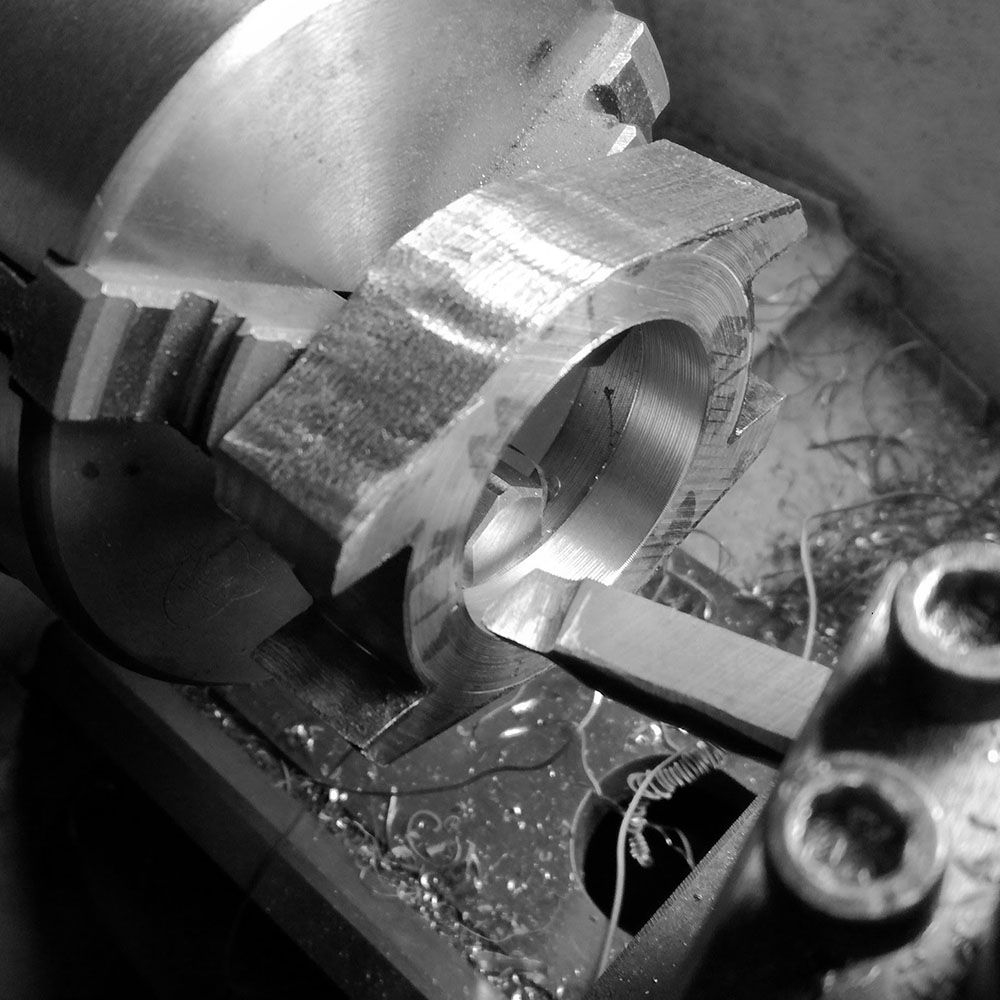
The interior three stepped seating is being turned.
Further turning.
Checking the movement seating, further adjusting is done.
Movement seats properly.
The side profile of the case is roughly marked, and cut.
Cutting the lug profile
Further cutting of the lug profile
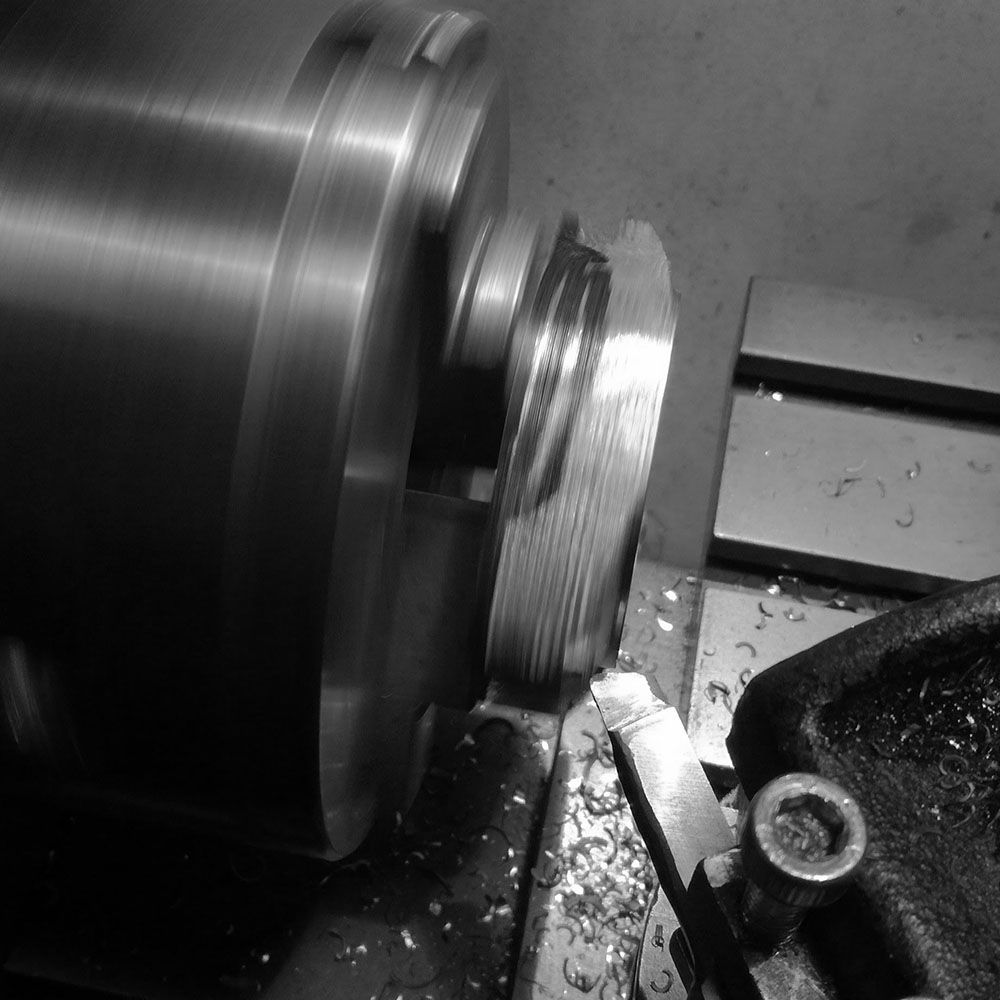
Using a purpose built cutter to cut the snap on case lip.
The outer portion of the lip cut.
The case is reversed to turn the back of the case and exposition area of movement.
Turning of the back of the movement.
The case back turned to depth. The case itself has to be reduced in diameter.
Cutting off the diameter of the case.
The depth of the lugs will have to be reduced, and then diameter reduced.